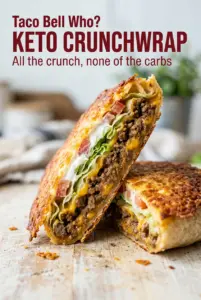
Hot, crisp, and packed with the same layered bite you expect from the fast-food version, this keto crunchwrap hits that sweet spot where melted cheese, seasoned beef, cool sour cream, and fresh lettuce all show up at once. The shell isn’t a tortilla at all — it’s a thin cheese round that turns lacy and golden in the pan, then firms up just enough to fold without cracking. That’s the trick that makes the whole thing feel fun instead of fussy.
What makes this version work is timing. The cheese needs to melt into one even sheet before you try to lift it, and it needs a short rest so it can set into a flexible wrap. The beef filling also has to be thick, not wet, or it will slide around and fight the seal. Once you’ve got that balance right, the crunchwrap browns beautifully in the skillet and holds together like it should.
Below, I’ll walk you through the part that matters most: getting the cheese shell pliable enough to fold, then crisping the outside without losing the filling. I’ve also included a few swaps and storage notes for the times you want to change it up or prep ahead.
The cheese shell crisped up around the edges and folded without tearing, and the filling stayed put instead of spilling out everywhere. My husband said it tasted like the drive-thru version, just better and less greasy.
Love the crispy cheese shell and layered filling in this Keto Crunchwrap? Save it to Pinterest for the nights when you want that fast-food crunch without the carbs.
The Cheese Shell Has to Set Before You Fold It
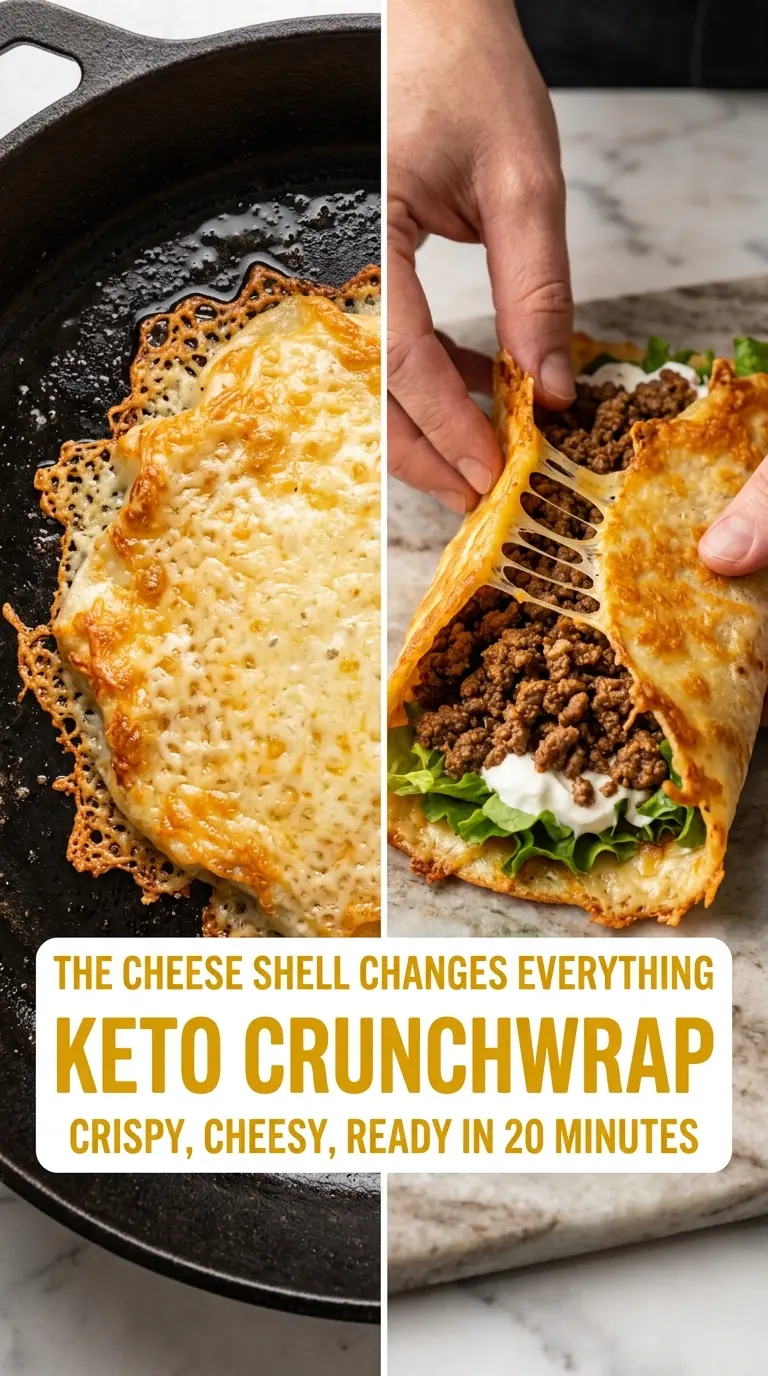
The biggest mistake with a keto crunchwrap is trying to fold the cheese while it’s still too soft. Straight off the skillet, it looks ready, but the center is still unstable. Give it that short 60-second rest on parchment and it turns from molten cheese into a flexible wrap that holds its shape.
The other common failure is a wet filling. If the beef mixture is loose, the cheese shell will slip and tear when you fold it. Cook the beef until the seasoning liquid has reduced to a thick coating, not a puddle. That gives you a filling that sits neatly in the center and helps the crunchwrap seal cleanly.
- Mozzarella — This is what gives the shell its stretch and structure. It melts into a thin web that can fold without snapping, and it’s the cheese you want to dominate the mix.
- Cheddar — Cheddar adds the flavor and helps the wrap brown. If you use only mozzarella, the shell still works, but it tastes flatter and can feel a little too rubbery.
- Ground beef — Use a beef with enough fat to stay flavorful, then drain excess grease after browning. Lean beef works too, but don’t leave the filling watery or the shell will struggle to hold.
- No-sugar taco seasoning — This keeps the filling keto-friendly without losing the familiar taco flavor. If your blend is salt-heavy, start with a little less and adjust after the water cooks down.
- Sour cream and avocado — These bring the cool, creamy contrast that makes the crunchwrap feel complete. Add them at the end so they stay fresh instead of melting into the hot beef.
Building the Shell, Filling, and Fold in the Right Order
Brown the Beef Until It’s Thick, Not Soupy
Cook the beef over medium-high heat until the pink is gone and the crumbles are browned, then add the seasoning and water. Let that simmer until the liquid turns into a glossy coating clinging to the meat. If you stop while the pan still looks wet, the crunchwrap will slide apart when you try to seal it.
Cook the Cheese Into One Even Round
Sprinkle the mozzarella and cheddar in a thin, even circle in a nonstick skillet. The cheese should melt together first, then turn lacy and golden at the edges while the center becomes fully set. If the layer is too thick in the middle, it takes longer to firm up and the fold gets awkward.
Rest Briefly, Then Fold Fast
Lift the cheese round onto parchment and let it sit for about a minute. That short rest is what makes it pliable instead of sticky, and it’s the difference between a clean fold and a torn shell. Spoon the filling in the center while the wrap is still warm, then fold the edges up around it one section at a time.
Crisp the Sealed Side Last
Return the crunchwrap seam-side down to the skillet and let it brown until the outside is deep golden and the edges feel firm when pressed. That last minute in the pan locks the folds in place and gives you the crunch you’re after. If you rush this part, the seal stays soft and the wrap can unravel when you cut it.
Three Ways to Change the Keto Crunchwrap Without Losing the Crunch
Dairy-Free? Use a Different Low-Carb Wrap Instead
The cheese shell is the signature move here, so a dairy-free version changes the whole texture. For a lower-carb alternative, use a sturdy keto tortilla or egg wrap instead and crisp it in the skillet after folding. You won’t get the same lacy cheese crust, but you’ll keep the hand-held crunchwrap shape.
Make It Spicier Without Making It Wet
Add diced jalapeños, hot sauce, or a pinch of chipotle powder to the beef after the liquid has reduced. The key is keeping the heat in the filling, not the moisture. If you add too much sauce, the shell softens before it has a chance to crisp again.
Turn It Into a Chicken Crunchwrap
Swap in shredded cooked chicken tossed with taco seasoning and a spoonful of water or broth. Shredded meat gives you a slightly looser filling than ground beef, so keep the layer thin and press it into the center before folding. The result is lighter, but it still gives you that same crisp-and-creamy bite.
Storage and Reheating
- Refrigerator: Store assembled crunchwraps for up to 2 days, but expect the lettuce to soften and the shell to lose some crispness.
- Freezer: Freezing isn’t ideal once the fresh toppings are inside. If you want to prep ahead, freeze only the cooked beef filling and build the crunchwrap fresh.
- Reheating: Reheat in a dry skillet over medium heat to bring the shell back to life. The microwave will make the cheese soft and chewy instead of crisp.
Answers to the Questions Worth Asking
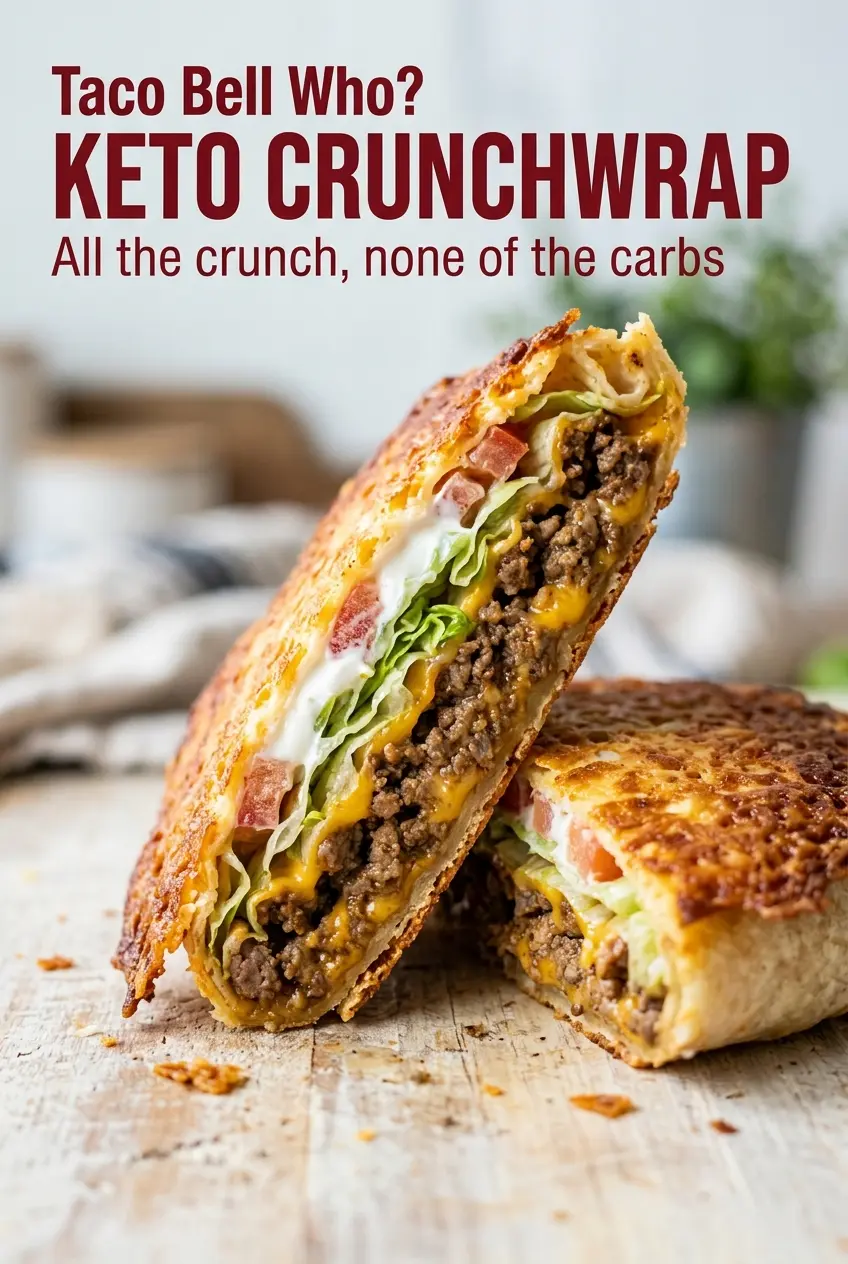
Keto Crunchwrap
Ingredients
Equipment
Method
- Heat a nonstick skillet over medium-high heat and cook the ground beef until no longer pink, about 6 minutes, breaking it into crumbles. Stir in the taco seasoning and water, then simmer for 3 minutes until thickened.
- Heat a nonstick skillet over medium heat. Sprinkle a thin, even layer of mozzarella and cheddar in a large circle about 8 inches wide, and cook 3-4 minutes until the edges turn golden and lacy and the center is fully melted and set.
- Carefully lift the cheese wrap with a spatula onto parchment paper and let it firm up for 60 seconds. It should crisp as it cools and become pliable enough to fold.
- While the cheese wrap is still warm and flexible, place a scoop of beef filling in the center, then add shredded cheddar, sour cream, lettuce, diced tomato, and jalapeños. Keep the toppings centered so the edges can fold up evenly.
- Fold the edges of the cheese wrap up and over the filling toward the center, working around like a fan and pressing gently to seal into a hexagon shape.
- Return the folded wrap seam-side down to the warm skillet and cook for 1-2 minutes until golden and crisp on the outside.
- Slice the crunchwrap in half and serve immediately, topped with diced avocado.