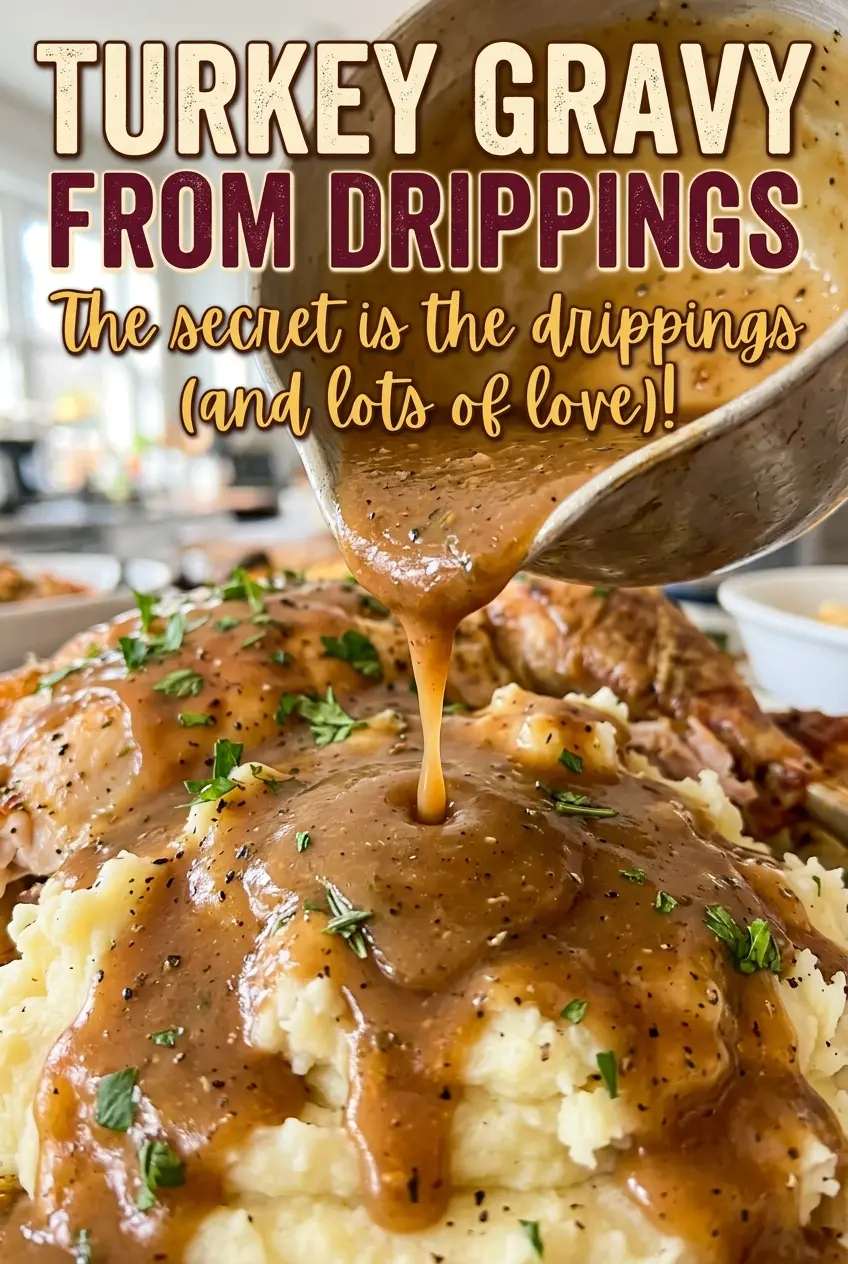
The first whisk through turkey fat and flour is where pan juices start turning into gravy. Keep the whisk moving and the roux goes smooth, then the broth loosens it into a sauce instead of leaving you with little floury clumps. This turkey gravy from drippings gets its roasted flavor from the pan without relying on the drippings alone for all its liquid.
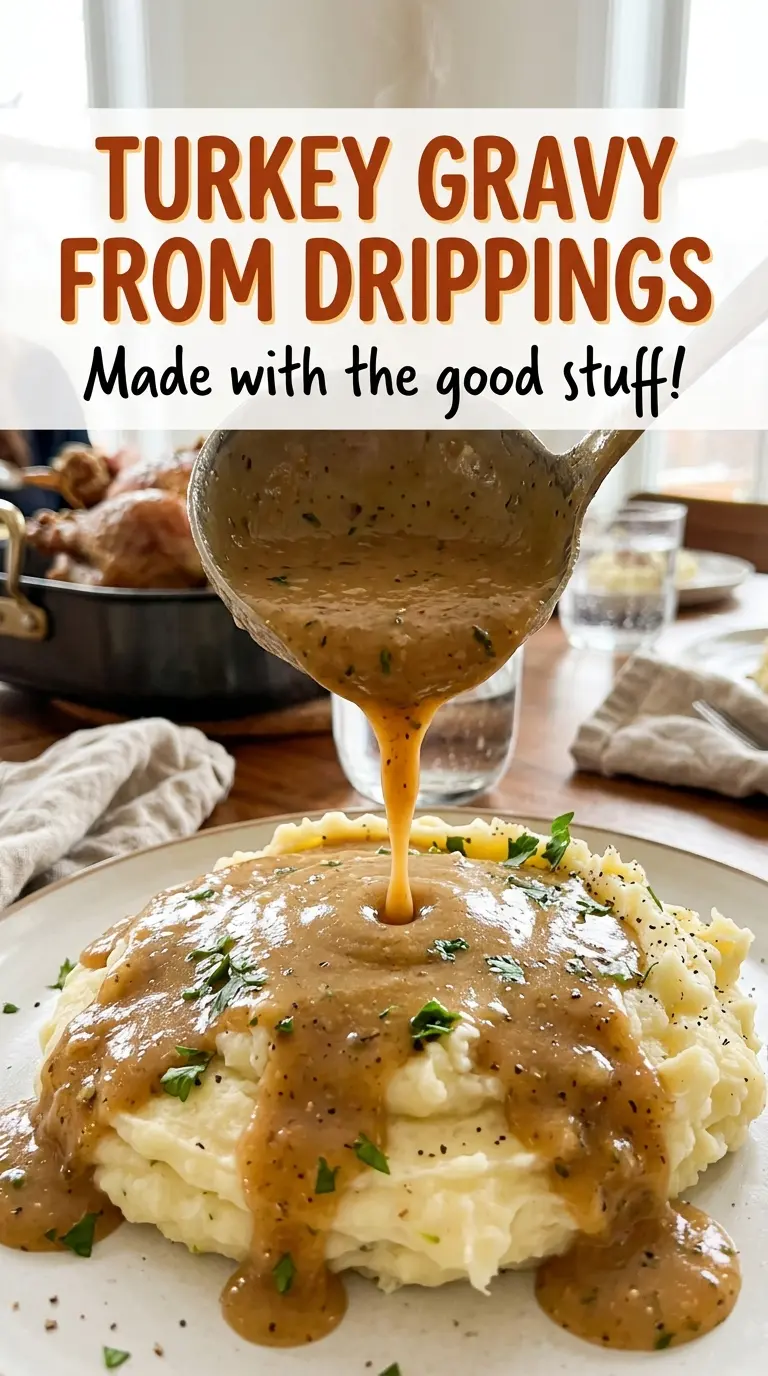
I use the skimmed fat to build the roux, then whisk in low-sodium turkey broth and strained, defatted drippings. That split gives the gravy enough body while keeping the turkey flavor present but balanced. After a short simmer, it should coat the back of a spoon and be ready for the table.
Kitchen Note
Give the fat and flour their full 2 minutes over medium heat, whisking the whole time. The roux should look smooth and lightly golden; don’t wait for it to turn dark brown.
Save this turkey gravy from drippings for a smooth, savory finish that puts the flavor in your roasting-pan juices to good use.
Why Turkey Gravy Needs More Than the Pan Juices
Pan drippings have plenty of roasted turkey flavor, but they’re not one uniform liquid. The fat and the juices behave differently: fat makes a rich base for the roux, while the defatted juices contribute concentrated flavor. Pouring everything into the saucepan without separating those parts can leave the gravy heavier than you want.
Here, the broth supplies most of the liquid, and the strained pan juices bring the roast flavor through. That balance matters because drippings vary from one pan to another, while the amount of broth gives the gravy a dependable base. Low-sodium broth also leaves room to season at the end, after the drippings have joined the sauce. It’s a small bit of kitchen bookkeeping that gives you control over both texture and saltiness.
What the Turkey Fat, Flour, and Broth Do in This Gravy
- Turkey fat — Skimmed fat gives the flour something to cook in, forming the roux that thickens the gravy. Since it comes from the turkey drippings, it also carries a roasted note. Take care to skim fat rather than use the pan juices as a substitute; the juices go in separately.
- All-purpose flour — Ordinary all-purpose flour is the dependable thickener here, and there’s no need to reach for a specialty brand. Whisk it into the fat until no dry pockets remain before you start adding liquid. It needs those 2 minutes of cooking so the finished gravy doesn’t taste floury.
- Low-sodium turkey broth — Broth provides the main liquid and keeps the sauce from depending on drippings for its volume. A basic boxed broth works well. If you only have regular turkey broth, use it, then be especially conservative when seasoning at the end.
- Strained, defatted pan drippings — These are the concentrated, savory part of the pan juices. Straining removes solids that can interrupt the gravy’s smooth texture, and defatting keeps the sauce from picking up excess grease. If the roasting pan has browned bits, strain the juices rather than letting those bits fall into the saucepan.
- Kosher salt and black pepper — Both go in after the gravy has simmered, when you can taste the combined broth and drippings. Keep the salt adjustable; pan drippings vary, so the same pinch won’t suit every roast.
Build the Roux First, Then Let the Gravy Find Its Thickness
Cook the Turkey Fat and Flour Until Lightly Golden
Set a 3-quart saucepan over medium heat and whisk the turkey fat with the flour. Keep whisking for 2 minutes, scraping around the bottom and corners so the mixture cooks evenly. It should turn smooth and lightly golden, not dark or separated. If you see dry flour, keep working it into the fat before moving on.
Whisk in the Broth and Pan Drippings Gradually
Pour in the turkey broth and strained, defatted drippings gradually while whisking. Adding the liquid in stages makes it easier to blend it into the roux without leaving lumps. Pause to whisk until the mixture looks smooth before adding more. Once all the liquid is incorporated, bring the gravy to a gentle simmer over medium heat.
Simmer Until It Coats a Spoon
Let the gravy simmer for 5 to 8 minutes, whisking occasionally as it thickens. Look for a smooth sauce that clings to the back of a spoon rather than running off like broth. Keep the simmer gentle; a hard boil isn’t needed to thicken it. Stir in the kosher salt and black pepper to taste, then serve.
Small Changes That Shift the Seasoning of Turkey Gravy
A lower-sodium finish
Keep the low-sodium broth and leave out the added salt, or add only a little after tasting. The gravy will taste less salty, though the pan drippings still bring their own seasoning.
A pepper-forward gravy
Add black pepper to taste at the end, using a little more than the starting amount if you want a sharper finish. Stir it in after the simmer so you can judge the pepper against the finished turkey flavor.
Storage and Reheating
- Refrigerator: Cool the gravy in a shallow, covered container and refrigerate within 2 hours. Use it within 3 to 4 days; it will thicken as it chills.
- Freezer: Freeze in a sealed freezer-safe container for up to 2 to 3 months. Thaw it in the refrigerator; the texture may look a little separated after thawing.
- Reheating: Warm it in a saucepan over low heat, whisking until smooth and heated to 165°F. Avoid blasting it over high heat, which can make the sauce catch on the bottom before it warms evenly.
Questions That Come Up When Making Turkey Gravy
Turkey Gravy from Drippings
Ingredients
Equipment
Method
- In a 3-quart saucepan over medium heat, whisk the turkey fat and flour together until smooth.
- Cook for 2 minutes, whisking constantly, until smooth and lightly golden.
- Gradually whisk in the turkey broth and pan drippings until smooth.
- Bring the gravy to a gentle simmer over medium heat.
- Simmer for 5 to 8 minutes, whisking occasionally, until thickened enough to coat the back of a spoon.
- Stir in the salt and pepper, then serve.