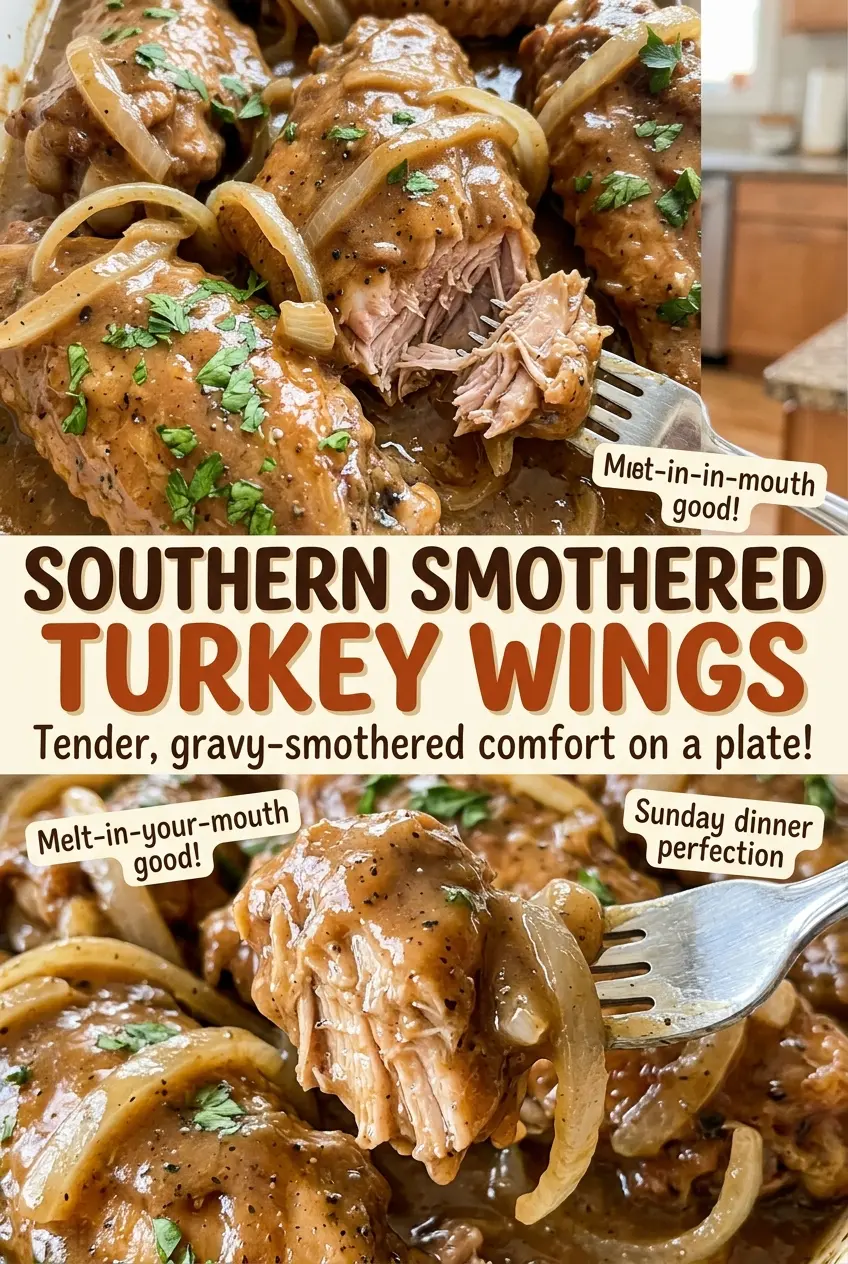
When the foil lifts, the gravy has settled around the turkey wings, and the onion and celery are soft enough to tuck into every spoonful. I used to expect turkey wings to need little attention once they went into the oven, but those first few minutes on the stovetop matter: a dry surface browns, while a damp one steams. These Southern Smothered Turkey Wings start with a good sear, then bake covered until the meat turns fork-tender in the gravy.
Building the gravy in the same skillet keeps all those browned bits in the dish. I cook the onion and celery in them, stir in the flour, then whisk in the broth gradually. That order gives the flour a chance to coat the vegetables before the liquid hits the pan, which helps the gravy thicken smoothly. The covered bake does the rest, leaving you with tender wings and a savory gravy that’s ready to spoon over every piece.
Kitchen Note
Let the wings rest in the gravy for the full 10 minutes after baking. That short pause gives the meat a chance to settle, and the gravy stays with the wings when you lift them from the dish.
Save these Southern Smothered Turkey Wings for the nights you want fork-tender meat and skillet gravy built right into the dish.
Why These Wings Get Browned Before They’re Smothered
A long, covered bake makes turkey wings tender, but it won’t give them the same browned flavor you get from the skillet. The browning happens before the wings meet the gravy, so the finished dish has more depth than wings that go straight into the baking dish. You’re not trying to cook them through on the stovetop; you’re building color on the outside before the oven takes over.
That first browning also leaves flavorful bits in the skillet. The onion and celery cook right on top of them, and the gravy picks up that savory base as you whisk in the broth. It’s a small bit of extra work, but it lets one pan do two jobs: brown the wings and build the sauce. Keep the pieces in batches so they have contact with the hot skillet rather than sitting crowded together.
The long bake is what makes the dish feel properly smothered. Foil holds in moisture while the wings cook in the gravy, so the meat has time to become fork-tender without the sauce reducing away in an uncovered oven. You end up with a spoonable gravy and wings that have picked up its flavor all the way through.
The Ingredients That Turn Turkey-Wing Flavor Into Gravy
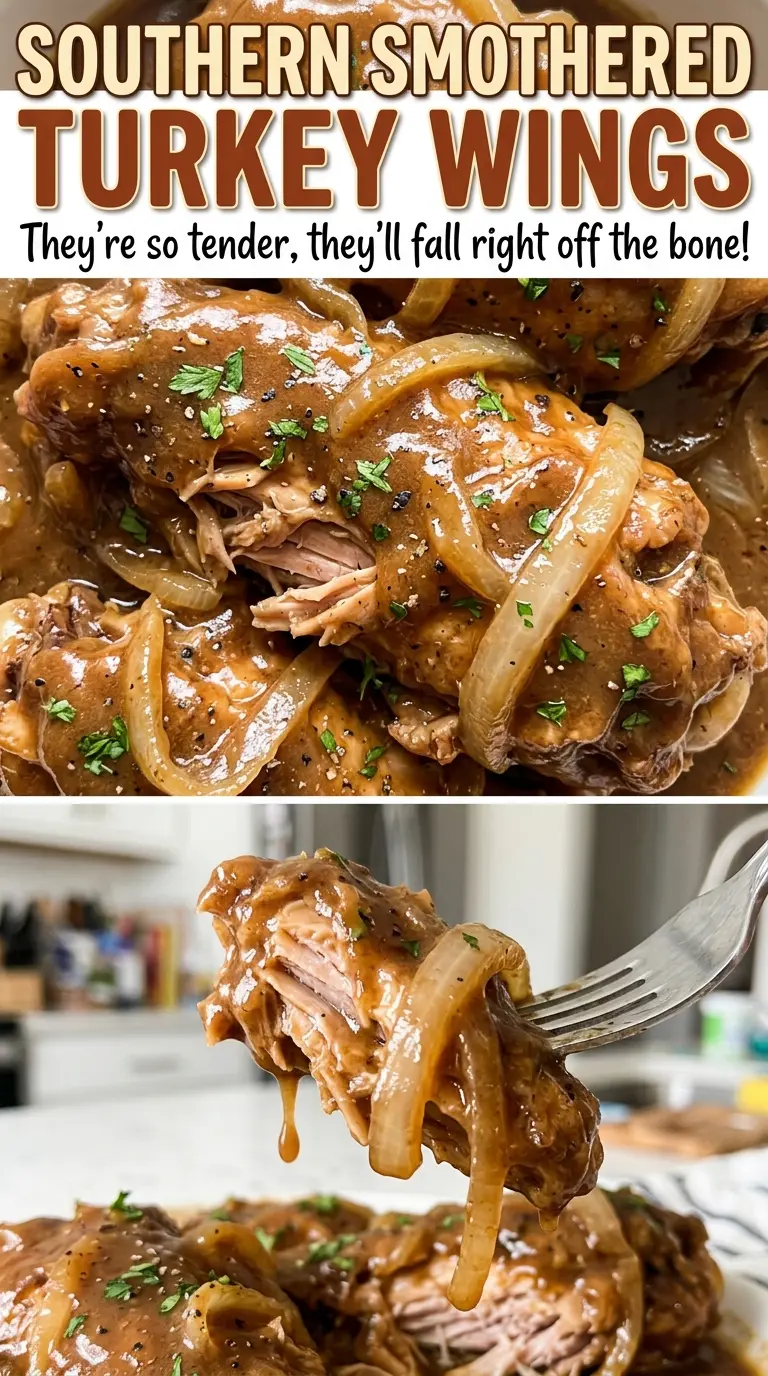
- Turkey wings — Split wings brown more evenly and fit neatly into the baking dish. Patting them dry before seasoning helps their surfaces brown in the skillet. Meaty pieces are worth choosing when you have the option; specialty branding matters less than getting wings split at the joints.
- Yellow onion and celery — These soften into the base of the gravy and bring a mild, savory sweetness. Thin slices soften within the skillet-cooking time, so avoid thick chunks that stay firm when the wings are done.
- All-purpose flour and low-sodium chicken broth — Flour thickens the broth into gravy, while low-sodium broth leaves room for the salt already seasoning the wings. A fresh bag of flour and a familiar, good-quality broth are both fine here; there’s no need for specialty ingredients.
- Garlic powder, paprika, dried thyme, and bay leaf — The garlic powder and paprika season the meat before browning, while thyme and bay leaf infuse the gravy during the bake. Dried thyme is convenient and works well here; use a bay leaf that still has a noticeable herbal aroma rather than one that has sat in the cupboard for years.
The Skillet-to-Oven Sequence That Builds the Gravy
Dry and Season the Wings
Heat the oven to 350°F. Pat the turkey wings dry, then season them all over with the kosher salt, black pepper, garlic powder, and paprika. Get the seasoning onto the surfaces and around the joints, where the pieces have been split. Drying first gives the wings a better chance to brown instead of releasing moisture into the skillet.
Brown the Wings in Batches
Heat the vegetable oil in a 12-inch skillet over medium-high heat. Brown the wings in batches for about 3 to 4 minutes per side, then move them to a 9×13-inch baking dish. Look for browned patches rather than expecting the meat to be cooked through at this point. If the skillet is crowded, work in another batch instead of stacking the pieces together.
Whisk the Skillet Gravy Smooth
Add the thinly sliced onion and celery to the skillet and cook over medium heat, stirring, for about 5 minutes, until softened. Stir in the flour and cook it for 1 minute so it coats the vegetables. Gradually whisk in the chicken broth, then add the dried thyme and bay leaf. Bring the gravy to a simmer and keep whisking for about 2 to 3 minutes, until it has thickened slightly; adding the broth gradually helps prevent flour lumps.
Cover, Bake, and Rest in the Gravy
Pour the gravy and vegetables over the wings, then cover the baking dish tightly with foil. Bake for 2 to 2 1/2 hours, until the meat is fork-tender and reaches at least 165°F near the bone; keep the thermometer tip from touching bone for an accurate reading. Remove the bay leaf when the wings come out of the oven. Let them rest in the gravy for 10 minutes before serving.
Three Flavor Tweaks That Still Keep the Dish Smothered
Make the gravy gluten-free
Replace the all-purpose flour with the same amount of a gluten-free 1:1 all-purpose flour blend, and use low-sodium chicken broth labeled gluten-free. Cook the blend with the onion and celery before whisking in broth gradually. The gravy may have a slightly different texture, but the same skillet method keeps it smooth.
Leave out the paprika for a milder seasoning
Omit the paprika and keep the other seasonings as listed. You’ll lose its warm, earthy note, but the black pepper and garlic powder still give the turkey a savory coating for browning.
Use a softer herbal note
Leave out the dried thyme and keep the bay leaf in the gravy. The sauce will be less herbal, with the browned turkey, onion, and celery coming forward more clearly.
Storage and Reheating
- Refrigerator: Store the wings and gravy together in an airtight container for 3 to 4 days. The chilled gravy will thicken as it cools.
- Freezer: Freeze the wings with plenty of gravy in an airtight freezer-safe container for up to 2 to 3 months for best quality. Thaw overnight in the refrigerator before reheating.
- Reheating: Warm gently in a covered dish in the oven or in a covered pan on the stovetop until hot throughout. Reheat the wings with the gravy; leaving them uncovered can dry out the meat.
Questions That Come Up With Smothered Turkey Wings
Southern Smothered Turkey Wings
Ingredients
Equipment
Method
- Heat the oven to 350°F.
- Pat the turkey wings dry.
- Season the turkey wings all over with the salt, pepper, garlic powder, and paprika.
- Heat the oil in a 12-inch skillet over medium-high heat.
- Brown the wings in batches, about 3 to 4 minutes per side, then transfer them to a 9x13-inch baking dish.
- Add the onion and celery to the skillet and cook over medium heat, stirring, until softened, about 5 minutes.
- Stir in the flour and cook for 1 minute.
- Gradually whisk in the chicken broth.
- Add the thyme and bay leaf, then bring the gravy to a simmer.
- Cook, whisking, until slightly thickened, about 2 to 3 minutes.
- Pour the gravy and vegetables over the wings and cover the baking dish tightly with foil.
- Bake for 2 to 2 1/2 hours, until the meat is fork-tender and reaches at least 165°F near the bone without touching it with the thermometer.
- Remove the bay leaf.
- Let the wings rest in the gravy for 10 minutes before serving.