The skin tells you a lot before the turkey even goes in the oven: after a day or two uncovered in the refrigerator, it looks noticeably drier, not damp and slippery. That’s one reason this dry brine turkey is easier to roast with well-browned skin than a bird that goes straight from its packaging to the pan. The other is getting salt under the skin, where it can season the breast and thighs instead of staying on the surface.
I use a fully thawed, unseasoned turkey and keep the process simple: salt, time in the refrigerator, then softened butter and a steady roast at 325°F. The bird gets onion, lemon, and thyme in the cavity, but there’s no complicated seasoning paste to mix or liquid brine to haul around. When the turkey is ready, the meat is seasoned throughout and the skin is golden, with a clean, savory aroma from the pan.
Kitchen Note
Use your fingertips to ease the skin away from the breast and thighs; slow pressure works better than tugging. You want room to get the salt underneath without tearing the skin.
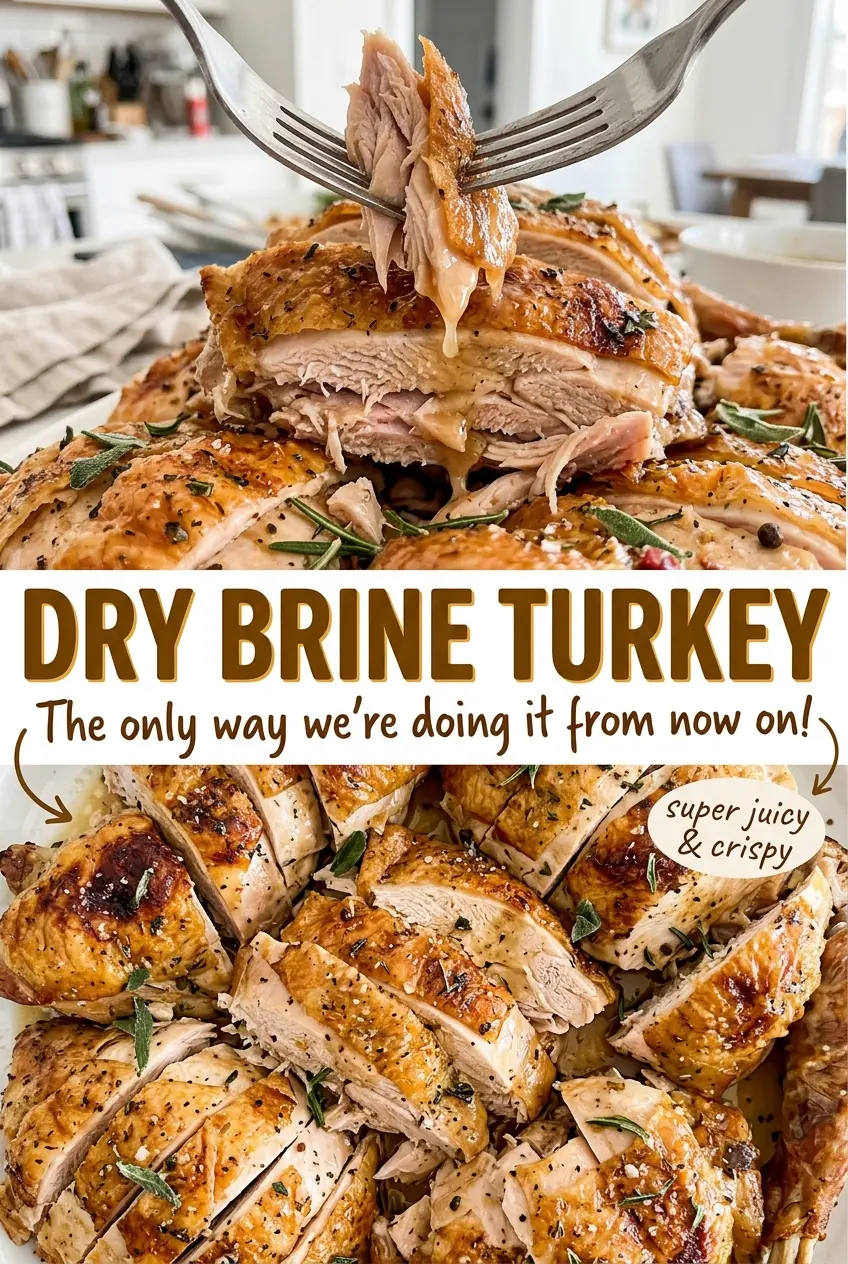
Save this dry brine turkey for a golden-skinned roast with well-seasoned breast and thigh meat.
Why This Turkey Goes Into the Fridge Uncovered
Dry brining isn’t just salting the outside and waiting. Salt on the surface draws out moisture, then that salty moisture has time to move back into the meat. Applying it under the skin, over the skin, and inside the cavity gives the seasoning more contact with the bird than a surface-only rub. The result is a turkey that tastes seasoned beyond its outer layer.
Leaving the turkey uncovered while it rests in the refrigerator also matters. Moisture on the skin can evaporate instead of staying trapped against it, which gives the surface a drier start for roasting. That helps the skin brown rather than steam in its own dampness. Keep the turkey on its rack in the roasting pan so it stays breast side up and the pan catches any liquid that collects during the rest. The long, quiet refrigerator time is doing two jobs: seasoning the meat and preparing the skin for the heat.
Why Diamond Crystal Salt and Unsalted Butter Matter Here
- Whole turkey — Start with a fully thawed bird in the 12- to 14-pound range that isn’t kosher or pre-brined. Those birds have already been salted, so they aren’t a good match for this amount of dry brine. Removing the giblets and neck leaves the cavity ready for the aromatics.
- Diamond Crystal kosher salt — The specified brand matters because kosher salt crystals vary in density, so an equal-volume measure of another brand won’t necessarily deliver the same amount of salt. Use Diamond Crystal for the stated measurement rather than making a direct volume swap.
- Unsalted butter — Softened butter spreads easily beneath the breast skin and across the outside without bringing extra salt. A standard grocery-store butter works; it doesn’t need to be a specialty brand. Let it soften enough to smear rather than melt it.
- Black pepper — Ground pepper seasons the skin alongside the butter. Freshly ground pepper gives a sharper aroma, while pre-ground pepper is fine when convenience matters.
- Onion, lemon, and fresh thyme — These go in the cavity to add aroma as the turkey roasts. Use a fresh lemon and thyme sprigs that still smell fragrant; the onion can be an ordinary yellow onion. Quarter the onion and lemon so they fit easily inside the bird.
How to Dry-Brine and Roast the Turkey Without Guesswork
Set Up the Bird and Loosen the Skin
Pat the turkey dry with paper towels, then set it breast side up on a rack in a 16-inch roasting pan. Use your fingers to loosen the skin over both the breast and thighs. Work carefully, sliding under the skin rather than pulling it sharply away from the meat. If the bird is damp when you start, the salt will cling less evenly, so take time to blot the surface dry.
Distribute the Salt Before the Refrigerator Rest
Rub all of the Diamond Crystal kosher salt under the loosened skin, over the outside, and inside the cavity. Spread it as evenly as you can instead of leaving a heavy patch in one spot. Keep the turkey breast side up in the pan and refrigerate it uncovered for 24 to 72 hours. That’s the full dry-brining window; give the salt time to do its work before roasting.
Butter the Skin and Add the Aromatics
Heat the oven to 325°F. Rub the softened butter beneath the breast skin and over the outside of the turkey, then season the skin with ground black pepper. Put the quartered onion, quartered lemon, and thyme sprigs in the cavity. Tuck the wing tips under the bird so they’re held close to the body during roasting.
Roast and Check Both Parts of the Bird
Roast for 3 to 3 3/4 hours, checking the temperature after 3 hours. The thickest part of the breast and the innermost thigh each need to reach 165°F; check both places rather than relying on the skin’s color. If the turkey browns too quickly, loosely tent it with foil while it finishes. Start checking at the listed point, since the bird’s size and oven can affect how quickly it cooks.
Rest Before Carving
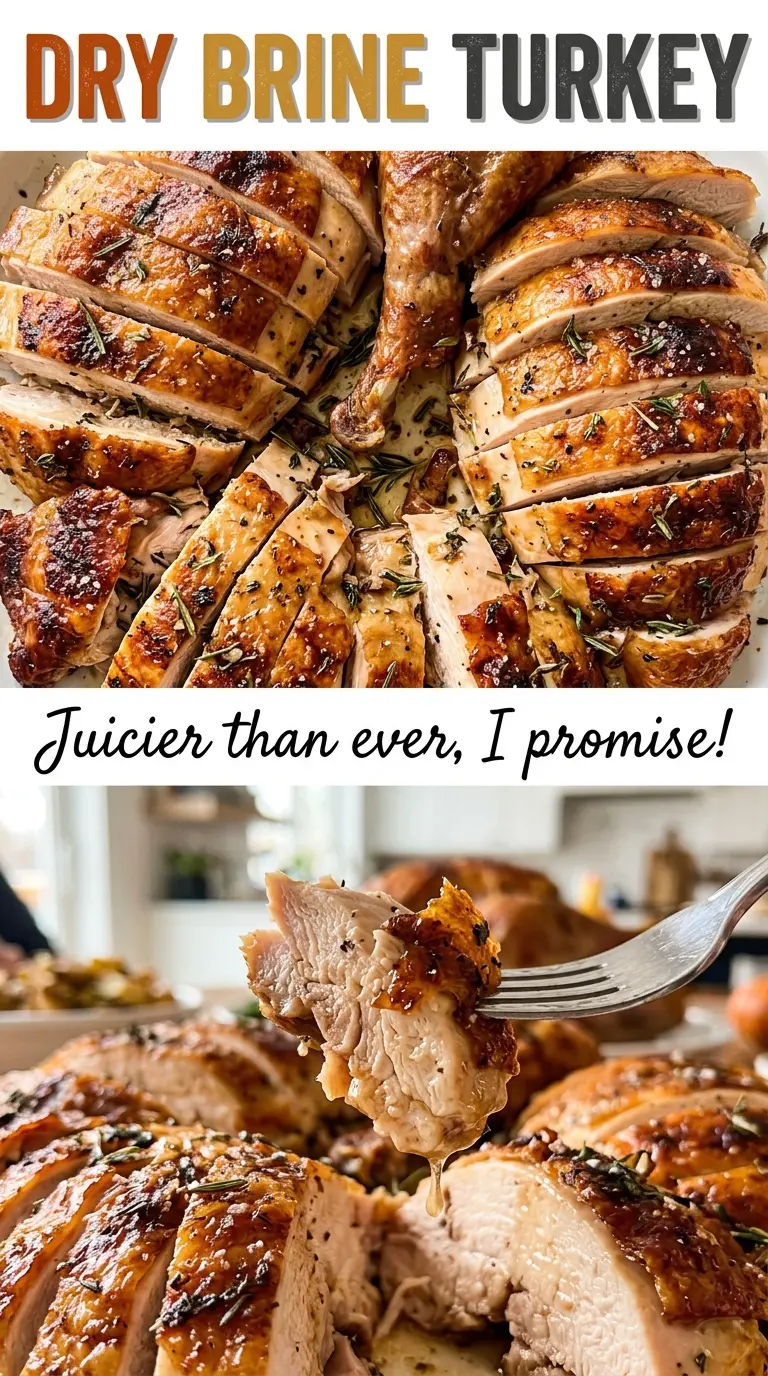
When both temperature checks are at 165°F, take the roasting pan out of the oven and loosely cover the turkey with foil. Let it rest for 30 minutes before carving. Keep the foil loose rather than wrapping the bird tightly; the turkey stays covered while the skin avoids being sealed in steam. Use the rest to get your carving area ready.
Small Changes That Shift the Flavor or Fit a Dairy-Free Table
A less citrus-forward cavity
Leave out the lemon and roast with the onion and thyme in the cavity. You’ll lose the lemon’s bright aroma, while keeping the savory onion and herbal notes; the turkey’s dry-brining and roasting method stays the same.
A dairy-free turkey
For a dairy-free version, leave out the butter rather than replacing it with another ingredient. Season the skin with pepper and roast the bird with the same aromatics; the surface won’t have the buttery richness, but the turkey still roasts without changing the brine.
Storage and Reheating
- Refrigerator: Refrigerate carved leftovers in a covered container for 3 to 4 days. The skin softens after chilling, and the meat firms up.
- Freezer: Freeze carved turkey in airtight portions for up to 2 to 6 months for best quality. Thaw it in the refrigerator before reheating.
- Reheating: Warm covered portions in a 325°F oven with a little moisture from the stored turkey juices, until heated through. Avoid reheating uncovered for a long stretch, which dries the lean breast meat; bring leftovers to 165°F.
Questions That Come Up When Roasting a Dry-Brined Turkey
Dry Brine Turkey
Ingredients
Equipment
Method
- Pat the turkey dry with paper towels and set it breast side up on a rack in a 16-inch roasting pan.
- Loosen the skin over the breast and thighs with your fingers.
- Rub all 4 tablespoons of salt evenly under the skin, over the skin, and inside the cavity.
- Refrigerate the turkey uncovered in the pan for 24 to 72 hours.
- Heat the oven to 325°F.
- Rub the softened butter under the breast skin and over the outside of the turkey.
- Season the skin with the pepper.
- Put the onion, lemon, and thyme in the cavity.
- Tuck the wing tips under the bird.
- Roast for 3 to 3 3/4 hours, checking the temperature after 3 hours.
- Check that the thickest part of the breast and the innermost thigh each reach 165°F.
- Loosely tent the turkey with foil if it browns too quickly.
- Rest the turkey loosely covered with foil for 30 minutes before carving.