The bread cubes should feel dry and lightly crisp before they ever meet the broth; if they still bend like fresh bread, the casserole can bake up heavy instead of tender. I learned to treat that drying time as real cooking, not an optional shortcut. For this classic Thanksgiving stuffing from scratch, sturdy white bread or sourdough gives you cubes that hold their shape while the onion, celery, sage, and thyme bring a savory smell to the skillet.
Once everything is tossed together, the mixture needs a short stand before it goes into the dish. That pause gives the dried bread a chance to take up the broth and egg evenly, so you don’t end up with wet patches beside dry corners. I like that the covered bake lets the middle set gently, then the uncovered finish brings color to the top. The result is a casserole with a soft, savory center and browned edges that still hold their shape when scooped.
Kitchen Note
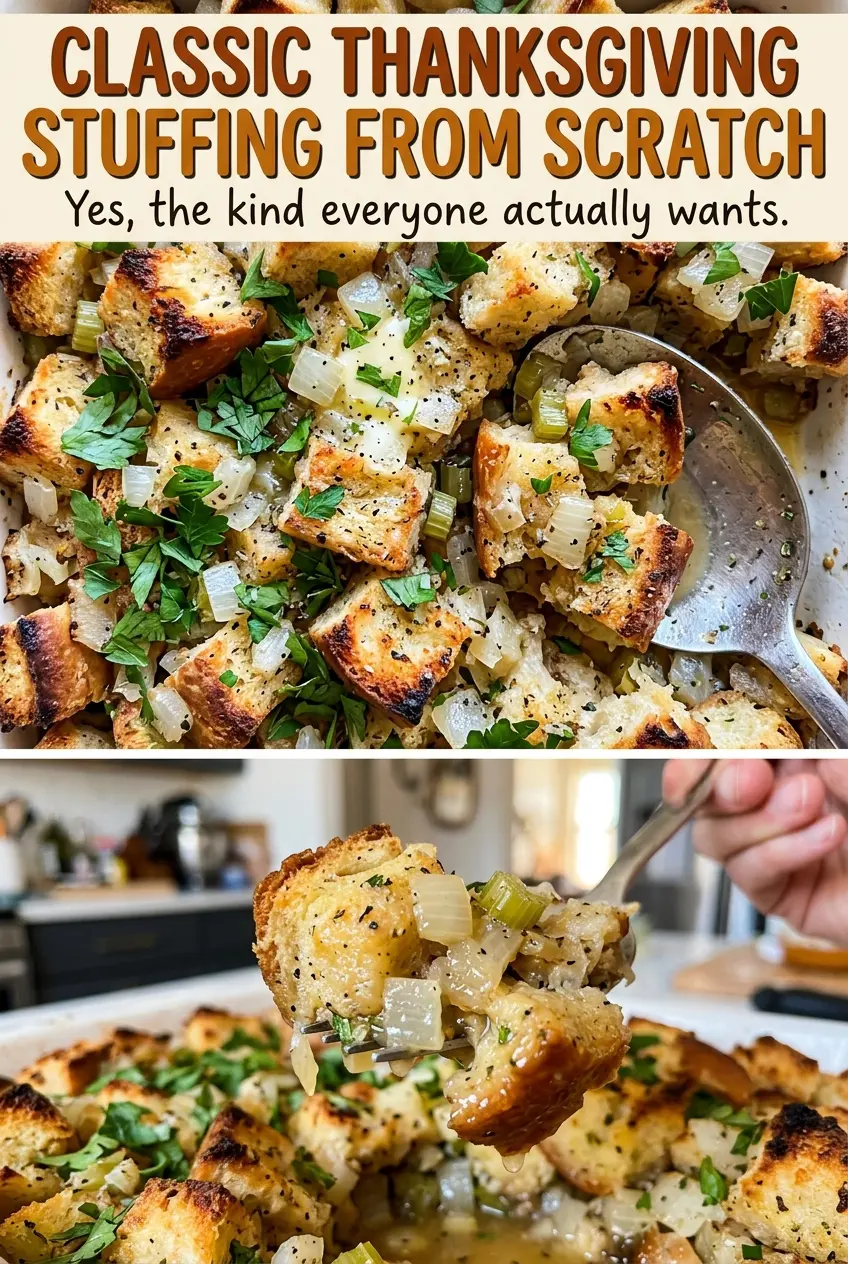
Give the baked stuffing its full 10-minute rest before scooping. It settles as it rests, so portions come out in soft, cohesive squares instead of breaking apart at the edges.
Save this classic Thanksgiving stuffing for its savory herb-scented center and golden, lightly crisp top.
Why Dry Bread Takes Broth Without Turning to Paste
Stuffing needs enough moisture to become tender, but the bread has to be ready to receive it. Fresh bread already holds plenty of moisture, so adding broth and eggs to it can leave the outside of the cubes sodden before the center has a chance to absorb anything. Drying the cubes in the oven first gives them room to take up the liquid gradually, which is what makes the finished casserole moist without collapsing into a dense mass.
Cube size matters here, too. At 3/4 inch, the pieces have enough surface to absorb the seasoned mixture while still holding a little structure. Cut them much smaller and they lose their distinct texture; leave them much larger and the centers may stay firm while the outside softens. When you toss the bread with the broth mixture, look for an even coating rather than a pool of liquid at the bottom of the bowl. A brief stand lets the cubes finish absorbing before they go into the baking dish.
The two-stage bake also helps balance the top and center. Foil protects the surface while the middle sets, then removing it gives the exposed bread time to turn golden. You get the contrast that makes stuffing satisfying: a tender interior with a browned top, rather than a dry casserole all the way through.
The Ingredient Choices That Keep Stuffing Savory, Not Heavy
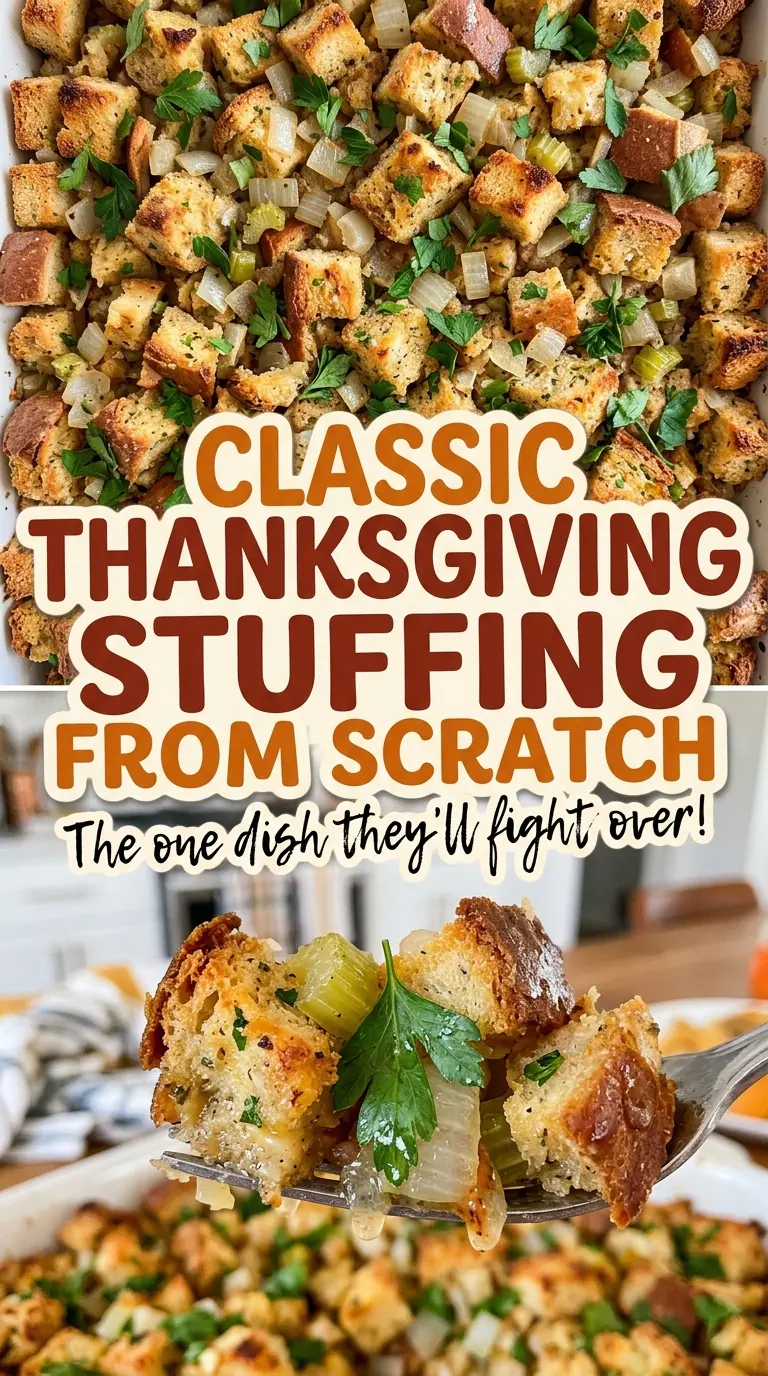
- Sturdy white bread or sourdough — Choose a loaf with a firm crumb that can be cut into even cubes. White bread keeps the flavor mild; sourdough brings a gentle tang. Either option works, so pick the one you like eating on its own.
- Unsalted butter — Butter carries the onion, celery, and herbs through the skillet and gives the stuffing its rounded, savory base. Unsalted butter lets the salt level stay predictable alongside the broth.
- Onion and celery — Finely chopping both helps them soften evenly and spread through the bread instead of collecting in large, crunchy pieces. The celery adds a fresh, savory note that keeps the buttery mixture from feeling too rich.
- Fresh sage and dried thyme — Sage has a distinct, earthy aroma that stands out in the finished dish, while dried thyme brings a steady herbal note. Fresh sage should smell fragrant, not limp or dull; dried thyme is fine from the pantry as long as it still has a clear aroma.
- Low-sodium chicken broth and eggs — Low-sodium broth seasons the bread without making the casserole overly salty. The eggs help the mixture hold together as it bakes; skipping them leaves a looser, more crumbly stuffing rather than the tender, sliceable texture this version is meant to have.
Dry the Cubes, Soften the Vegetables, Then Bake Until Set
Drying the Bread Without Toasting It
Heat the oven to 300°F and grease a 9×13-inch baking dish with nonstick cooking spray. Spread the 3/4-inch bread cubes on a large rimmed baking sheet and bake for 30 to 40 minutes, stirring once. They should feel dry and lightly crisp, not deeply browned; if they still feel soft in the middle, give them more time. Let the cubes cool before mixing so they don’t steam in the bowl.
Softening the Onion and Celery
Melt the butter in a large skillet over medium heat, then add the finely chopped onion and celery. Cook for 8 to 10 minutes, stirring occasionally, until both vegetables have softened. They should look glossy and tender, with no raw crunch, but they don’t need to brown. Stir in the sage and thyme once the vegetables are soft so the herbs are distributed through the buttery base.
Coating the Bread Evenly
Whisk the chicken broth, eggs, salt, and pepper together in a large bowl. Add the dried bread and cooked vegetables, then toss until the cubes are evenly moistened and the vegetables are spread throughout. If the bowl has a puddle at the bottom, keep tossing so the bread can absorb it rather than letting liquid collect beneath the casserole. Let the mixture stand for 10 minutes before transferring it to the prepared baking dish.
Setting the Center and Browning the Top
Spread the mixture in the prepared dish and cover it tightly with foil. Bake at 350°F for 30 minutes, then remove the foil and bake for 15 to 20 minutes more. Watch for a golden top and check that the center reaches 160°F; the middle should feel set rather than slosh when the dish is moved. Rest the stuffing for 10 minutes before serving.
Simple Swaps for a Different Thanksgiving Table
Use sourdough for a tangier stuffing
Choose the sourdough option in place of sturdy white bread. Its mild tang gives the savory herbs a little more contrast, while the firm crumb still makes substantial cubes that hold their shape.
Make it vegetarian with vegetable broth
Replace the chicken broth with the same amount of low-sodium vegetable broth. The stuffing keeps its soft, savory texture, though the broth gives it a slightly more vegetable-forward flavor.
Keep the flavor mild with sturdy white bread
Choose sturdy white bread instead of sourdough when you want the onion, celery, sage, and thyme to be the most noticeable flavors. The result is familiar and neutral, with no sourdough tang competing with the herbs.
Storage and Reheating
- Refrigerator: Store cooled leftovers in an airtight container for 3 to 4 days. The bread softens in storage, so the top won’t stay as crisp.
- Freezer: Freeze cooled portions in airtight freezer-safe containers for up to 1 month for the best texture. Thaw overnight in the refrigerator before reheating.
- Reheating: Place the stuffing in an oven-safe dish, cover with foil, and reheat at 350°F until the center reaches 165°F. Avoid reheating a full dish uncovered, since the top can dry out before the middle is hot.
Questions That Come Up Before the Stuffing Goes in the Oven
Classic Thanksgiving Stuffing from Scratch
Ingredients
Equipment
Method
- Heat the oven to 300°F.
- Grease a 9x13-inch baking dish with nonstick cooking spray.
- Spread the bread cubes on a large rimmed baking sheet and bake for 30 to 40 minutes, stirring once, until dry and lightly crisp.
- Let the bread cubes cool.
- Melt the butter in a large skillet over medium heat.
- Add the onion and celery and cook for 8 to 10 minutes, stirring occasionally, until softened.
- Stir in the sage and thyme.
- Whisk the chicken broth, eggs, salt, and pepper in a large bowl.
- Add the dried bread and cooked vegetables, then toss until evenly moistened.
- Let the mixture stand for 10 minutes.
- Transfer the mixture to the prepared baking dish and cover tightly with foil.
- Bake at 350°F for 30 minutes, then remove the foil and bake for 15 to 20 minutes more, until the top is golden and the center reaches 160°F.
- Rest the stuffing for 10 minutes before serving.