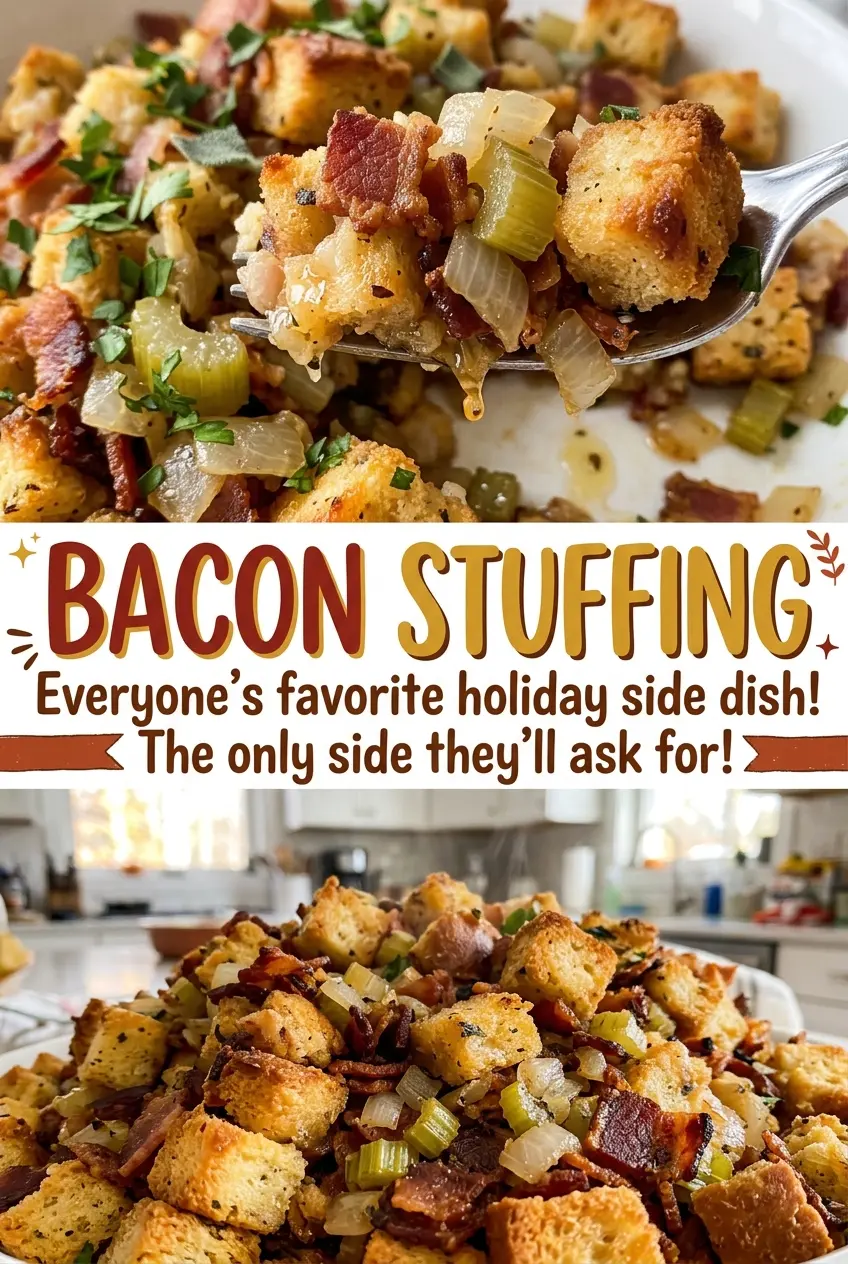
The bacon starts to render before the vegetables ever hit the skillet, and those crisp little pieces leave behind the savory fat that gives every bread cube a head start. I keep two tablespoons of drippings in the pan, then soften the onion and celery right in it. That’s the start of what makes this Bacon Stuffing taste full and savory without needing a long list of add-ins.
The texture depends on using dried, unseasoned bread cubes and giving them an even coating of broth and egg. The cubes should be moistened throughout, not swimming in liquid; then the covered bake keeps the center tender while the uncovered finish browns the top. After a short rest, each scoop holds together without turning heavy or soggy.
Kitchen Note
Give the stuffing its full 10-minute rest before serving. It’s tempting to scoop straight from the oven, but the brief pause lets the center settle so portions hold together instead of slumping onto the plate.
Save this Bacon Stuffing for a crisp-topped holiday-style side with bacon in every scoop and a tender, savory center.
Why Low-Sodium Broth Matters When Bacon Is Already in the Bowl
Bacon brings salt along with its smoky, savory flavor, and the vegetables pick up some of that seasoning as they soften in the drippings. Low-sodium chicken broth gives the bread the liquid it needs without making the whole dish taste aggressively salty. The measured kosher salt and black pepper can then round things out instead of competing with a highly seasoned broth.
This balance matters because stuffing spreads its seasoning across a lot of bread. A small taste of the cooked vegetable mixture won’t tell you exactly how the finished casserole will taste, since the bread absorbs the broth and carries the bacon through every bite. Stick with low-sodium broth and the stated seasoning amounts for a result that tastes savory rather than salty.
The bacon’s crispness matters, too: once it’s tossed with the bread, it softens some as the stuffing bakes, but still gives you little concentrated bites. Let it drain briefly on paper towels so excess grease doesn’t collect in the bowl. Keep the drippings in the skillet for the vegetables, where they help carry that bacon flavor into the base.
What the Bread, Eggs, and Broth Each Bring to Bacon Stuffing
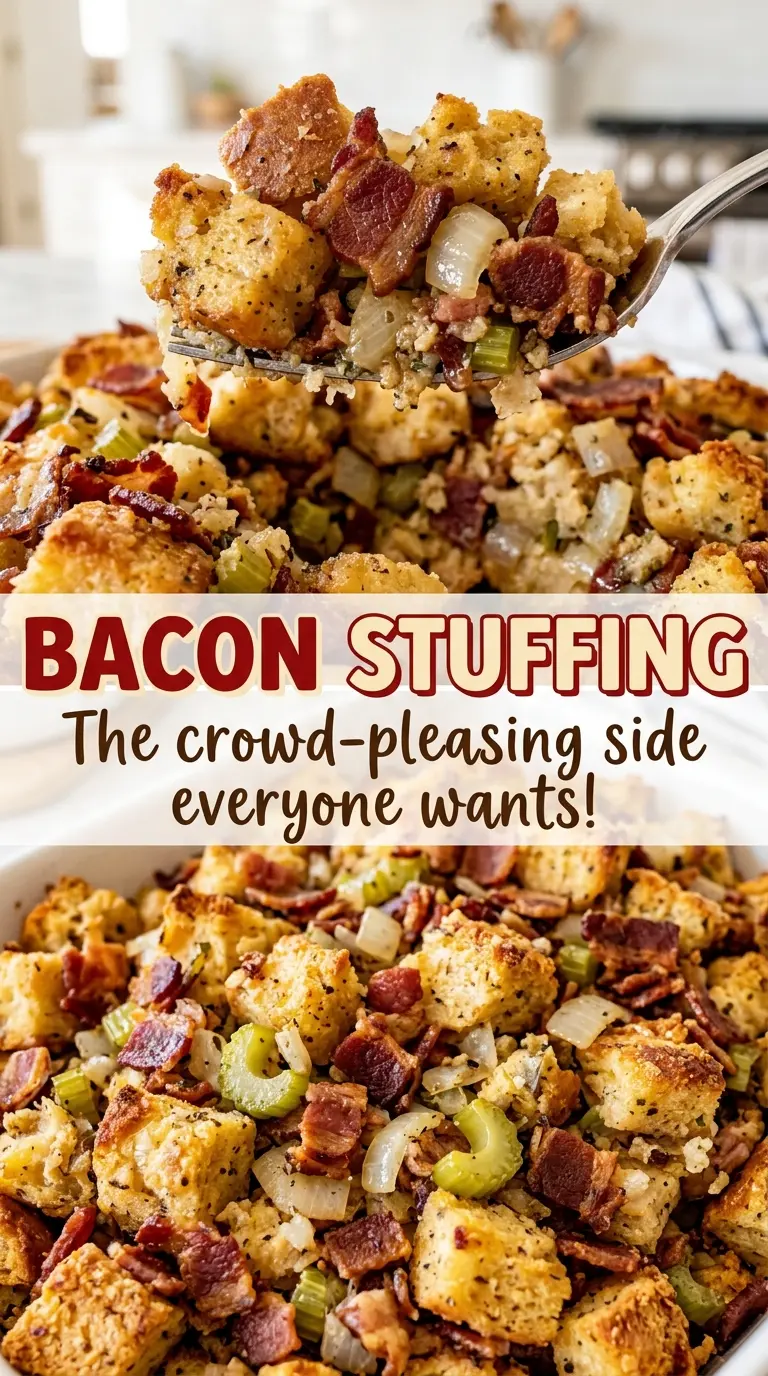
- Dried unseasoned bread cubes — Their dry, sturdy texture gives the broth somewhere to go while keeping the finished stuffing distinct rather than paste-like. Unseasoned cubes let the bacon, herbs, and measured salt set the flavor. Fresh bread isn’t an equivalent swap here because it starts with more moisture and absorbs the liquid differently.
- Bacon — Choose bacon you enjoy eating on its own; its flavor carries into both the drippings and the finished cubes. Cutting it into the specified pieces helps it crisp evenly and makes it easy to distribute through the bread. The rendered drippings are part of the dish, not something to discard with all the bacon fat.
- Low-sodium chicken broth — It moistens the bread and lets the seasonings spread through the casserole. A low-sodium version gives you better control because bacon is already seasoned. Use broth rather than water here; water would add moisture but not the savory depth that ties the ingredients together.
- Eggs — Whisked into the broth, eggs help the moistened cubes bake into a cohesive stuffing instead of a loose pile of bread. Whisk until the yolks and whites are blended so you don’t get patches of egg in the mixture.
- Yellow onion and celery — These soften in the skillet and build the aromatic base beneath the bread and bacon. Dice them evenly so the pieces turn tender at roughly the same pace. There’s no need to seek out specialty produce; fresh, firm vegetables are what matter.
- Dried sage and thyme — These herbs give the stuffing its familiar savory character without adding extra moisture. Dried herbs disperse well in the broth mixture; whisk them in so they don’t stay clumped on the surface of the bread.
Build the Bacon Flavor Before the Bread Goes in the Oven
Render the bacon until crisp
Heat the oven to 350°F and coat a 9×13-inch baking dish with nonstick cooking spray. Cook the bacon pieces in a large skillet over medium heat, stirring occasionally, until crisp; this takes about 8 to 10 minutes. If the pieces are still floppy, give them a little more time in the skillet rather than relying on the oven to crisp them later. Transfer them to a paper towel-lined plate and leave two tablespoons of drippings in the skillet.
Soften the onion and celery
Add the butter, diced onion, and diced celery to the skillet with the reserved drippings. Cook, stirring occasionally, for about 6 to 8 minutes, until the vegetables have softened. They should look glossy and tender, not browned or crunchy. If the skillet seems crowded, keep stirring so the vegetables cook evenly in the fat.
Coat the bread cubes evenly
Put the dried bread cubes and cooked bacon in a large bowl, then add the softened vegetables and toss them together. In a separate medium bowl, whisk the chicken broth with the eggs, sage, thyme, salt, and pepper until blended. Pour the liquid over the bread mixture and toss until the cubes are evenly moistened; check the bottom of the bowl so dry cubes aren’t hiding underneath.
Bake covered, then brown the top
Transfer the mixture to the prepared baking dish and cover it tightly with foil. Bake for 30 minutes, then remove the foil and continue baking for 15 to 20 minutes, until the top is browned and the center reaches 160°F. The covered portion gives the bread time to heat through without drying at the surface; the uncovered finish is where the top takes on color. Let it rest before serving.
Small Adaptations That Keep the Stuffing’s Texture in Balance
For a gluten-free version, swap only the bread cubes
Use a 12-ounce package of dried, unseasoned gluten-free bread cubes in place of the regular dried cubes, keeping the rest of the ingredient amounts and method the same. Gluten-free cubes can vary in how quickly they absorb liquid, so toss thoroughly and look for even moistening before transferring the mixture to the dish. The finished texture may be a little more compact, but the bacon, vegetables, and herbs remain the same.
A vegetarian version needs more than leaving out bacon
Bacon supplies both the savory flavor and the skillet drippings used to cook the vegetables. Simply omitting it would change the seasoning and the fat in the base, so I don’t treat that as a one-for-one vegetarian adaptation. For this particular formula, keeping the bacon gives you the intended flavor and texture.
Storage and Reheating
- Refrigerator: Store covered in an airtight container for 3 to 4 days. The bread will soften as it sits, so the top won’t stay as crisp as it was on baking day.
- Freezer: Freeze cooled portions in an airtight, freezer-safe container for up to 1 month for the best texture. Thaw overnight in the refrigerator before reheating.
- Reheating: Warm covered in a 325°F oven until the center reaches 165°F. Keep it covered while reheating; leaving it exposed the whole time can dry out the bread before the center is hot.
Questions I Get Asked About Bacon Stuffing
Bacon Stuffing
Ingredients
Equipment
Method
- Heat the oven to 350°F and coat a 9x13-inch baking dish with nonstick cooking spray.
- Cook the bacon in a large skillet over medium heat, stirring occasionally, until crisp, about 8 to 10 minutes; transfer it to a paper towel-lined plate and leave 2 tablespoons of drippings in the skillet.
- Add the butter, onion, and celery to the skillet and cook, stirring occasionally, until the vegetables are softened, about 6 to 8 minutes.
- Put the bread cubes and cooked bacon in a large bowl, then add the vegetable mixture and toss to combine.
- Whisk the broth, eggs, sage, thyme, salt, and pepper in a medium bowl, pour over the bread mixture, and toss until evenly moistened.
- Transfer the mixture to the prepared baking dish, cover tightly with foil, and bake for 30 minutes.
- Remove the foil and bake for 15 to 20 minutes, until the top is browned and the center reaches 160°F.
- Let the stuffing rest for 10 minutes before serving.