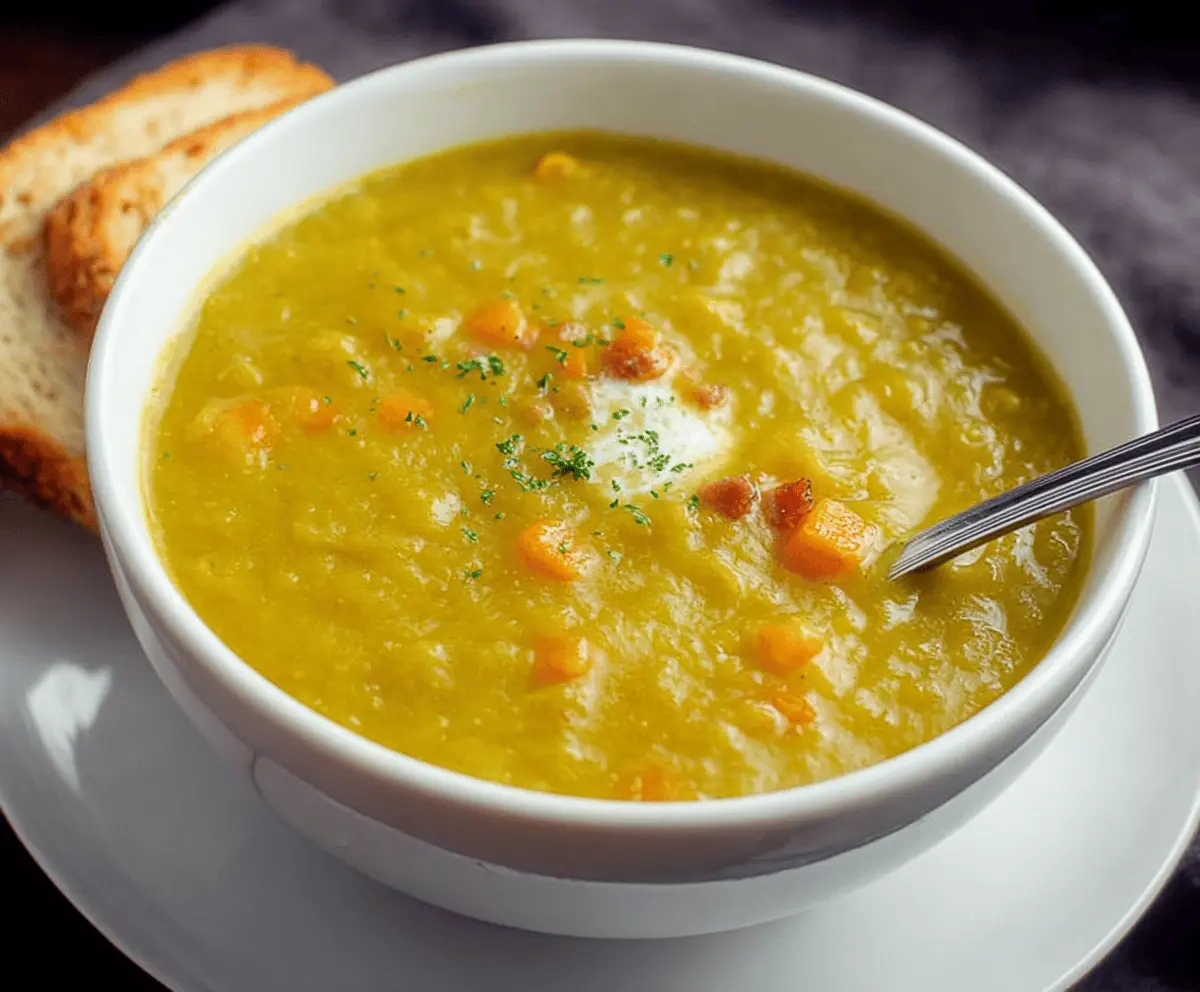
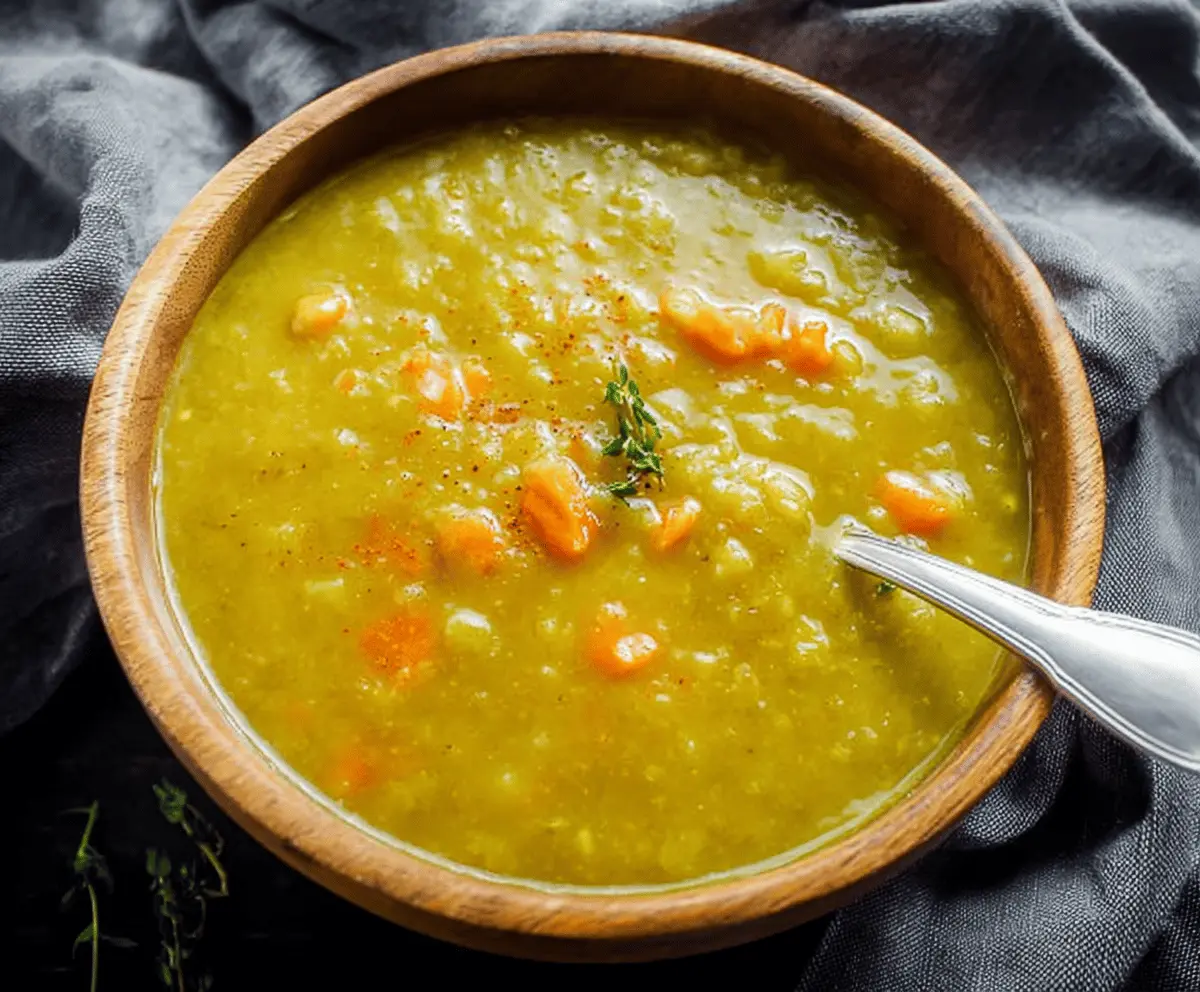
Split Pea Soup is a hearty and comforting bowl full of tender green peas, savory bits of ham, and a rich, thick texture that hugs you like a warm blanket. It’s a simple classic that tastes like home, with its mild flavors and satisfying creaminess, even without cream. The soup blends earthy peas with onions, carrots, and celery, making every spoonful deliciously wholesome.
I love making Split Pea Soup on chilly days when I want something filling but not too fancy. It’s one of those recipes that gets better the next day, so I always make a big pot and enjoy the leftovers. One of my favorite tips is to let the soup simmer slowly so the flavors come out just right and the peas break down perfectly, creating that smooth and hearty texture we all crave.
To make the meal even cozier, I like to serve Split Pea Soup with a slice of crusty bread or a grilled cheese sandwich on the side. It’s a great way to enjoy a simple lunch or dinner that feels like a warm hug from the inside. Every time I make it, I’m reminded of family dinners where everyone gathers around the table, happy and satisfied with a rustic, homey soup that never disappoints.
Key Ingredients & Substitutions
Split Peas: These are the heart of the soup. They break down while cooking to give the soup its creamy texture. If you’re new to cooking with them, rinsing first helps remove any dust or debris.
Broth or Water: Vegetable broth adds extra flavor, but water works fine too. For a meatier taste, I like using chicken broth or adding a ham bone.
Onions, Carrots & Celery: These vegetables build the soup’s classic base and add natural sweetness. If you don’t have celery, a pinch of celery seed can substitute well.
Ham Bone or Diced Ham (Optional): This adds wonderful smoky depth. If you prefer vegetarian, just skip it, or use smoked paprika for a subtle smoky flavor.
How Can I Get the Perfect Creamy Texture Without a Blender?
Split pea soup becomes thick as the peas cook and naturally break down. To get a creamy soup without a blender:
- Cook the soup slowly on low heat to help peas soften fully.
- Stir occasionally to break up peas as they cook.
- If it’s not creamy enough, mash some of the peas gently with a potato masher right in the pot.
- Adding a little extra broth or water helps adjust thickness if it feels too thick after mashing.
Taking your time and a little mashing can make the soup creamy and comforting without extra equipment.

Equipment You’ll Need
- Large heavy-bottomed pot – great for even heat distribution and slow simmering.
- Wooden spoon – perfect for stirring without scratching your pot.
- Knife and cutting board – for prepping your veggies safely and easily.
- Measuring cups and spoons – to keep your ingredient amounts spot on.
- Potato masher (optional) – handy if you want a creamier soup texture without a blender.
Flavor Variations & Add-Ins
- Add diced smoked ham or a ham bone for a smoky, meaty taste that deepens the soup’s flavor.
- Stir in crispy cooked bacon at the end for extra crunch and saltiness.
- Mix in chopped fresh herbs like parsley or dill for a bright, fresh note right before serving.
- Try adding a pinch of curry powder or smoked paprika to spice things up and add warmth.
How to Make Split Pea Soup?
Ingredients You’ll Need:
For The Soup:
- 1 1/2 cups dried green split peas, rinsed
- 6 cups vegetable broth or water
- 1 medium onion, finely chopped
- 2 medium carrots, peeled and diced
- 2 celery stalks, diced
- 2 cloves garlic, minced
- 1 tsp dried thyme (or 1 sprig fresh thyme)
- 1 bay leaf
- Salt and black pepper, to taste
- 1 tbsp olive oil or butter
- Optional: Ham bone or diced ham for extra flavor
How Much Time Will You Need?
This recipe takes about 10 minutes of prep time and around 1 to 1.5 hours to simmer until the peas become tender and the soup thickens beautifully. So, you’re looking at roughly 1 hour 15 minutes total, perfect for a cozy lunch or dinner.
Step-by-Step Instructions:
1. Cook the Vegetables:
Heat the olive oil or butter in a large pot over medium heat. Add the chopped onion, carrots, and celery. Cook, stirring occasionally, for about 5 to 7 minutes until the vegetables soften.
2. Add Garlic and Seasonings:
Stir in the minced garlic and cook for another minute, until fragrant. Then add the rinsed split peas, broth or water, thyme, bay leaf, and the ham bone or diced ham if you’re using.
3. Simmer the Soup:
Bring the mixture to a boil. Once boiling, reduce the heat to low. Cover the pot and let it simmer gently for 1 to 1.5 hours. Stir occasionally to prevent sticking and to help the peas break down, creating a thick and creamy soup.
4. Final Touches:
Remove the bay leaf and ham bone (if used). For a creamier texture, mash some of the soup gently with a potato masher right in the pot. Season the soup with salt and black pepper to your taste.
5. Serve and Enjoy:
Ladle the hot soup into bowls and garnish with fresh thyme or parsley if you like. Serve it with crusty bread on the side for a comforting and classic meal that’s sure to warm you up!
Can I Use Yellow Split Peas Instead of Green Split Peas?
Yes! Yellow split peas work just as well and will give the soup a slightly sweeter flavor and lighter color. Cooking time and method remain the same.
How Can I Make Split Pea Soup Vegetarian or Vegan?
Simply skip the ham bone or diced ham and use vegetable broth instead of meat-based broth. Adding smoked paprika can help add a smoky depth without meat.
How Should I Store Leftover Split Pea Soup?
Store leftovers in an airtight container in the fridge for up to 3-4 days. The soup thickens as it cools, so add a little broth or water when reheating to loosen it up.
Can I Freeze Split Pea Soup?
Absolutely! Freeze cooled soup in portion-sized airtight containers for up to 3 months. Thaw overnight in the fridge and reheat gently on the stove, adding extra liquid if needed.


