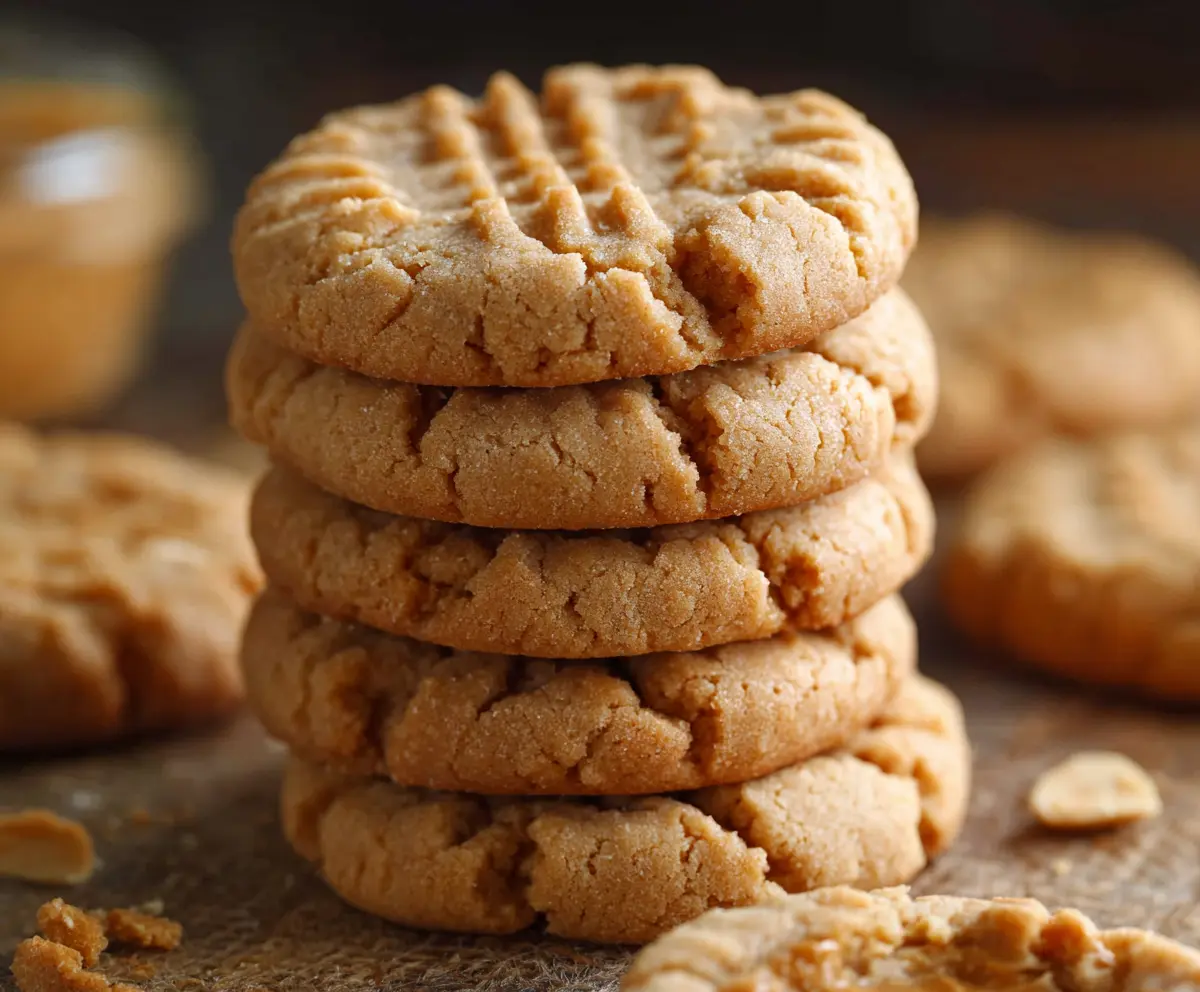
Peanut butter cookies are a timeless treat full of nutty flavor and a soft, chewy texture that’s hard to resist. These cookies have that perfect balance of sweet and salty, with the rich taste of peanut butter shining through in every bite. You’ll often spot the classic crisscross pattern on top, which gives them a homey, handmade feel.
I love making peanut butter cookies because they come together so easily and quickly. A big tip I have is to press them down just right—not too thin so they don’t dry out, but enough to get that signature look and texture. Whenever I bake a batch, the whole house smells wonderfully comforting, and it’s like everyone waits eagerly for them to cool down so they can enjoy one.
The best part about peanut butter cookies is how well they go with a glass of cold milk or a cup of tea. They’re great for sharing with friends, packing in lunchboxes, or just sneaking a couple after a long day. Every time I eat one, it reminds me of cozy afternoons and the simple joy of a homemade cookie.
Key Ingredients & Substitutions
Peanut Butter: Creamy peanut butter is best for smooth texture, but chunky works if you prefer little nutty bits. Natural peanut butter is great if you want less sugar, just give it a good stir first.
Sugars: The mix of granulated and brown sugar balances sweetness and moisture. Brown sugar adds chewiness and a hint of molasses flavor. You can try all brown sugar for softer cookies.
Egg: The egg binds everything and adds moisture. For an egg-free version, you could use a flax egg (1 tbsp ground flaxseed + 3 tbsp water) but texture may change a bit.
Baking Soda: This helps the cookies spread out and rise slightly. Don’t skip it—it keeps your cookies soft inside with a slight crisp outside.
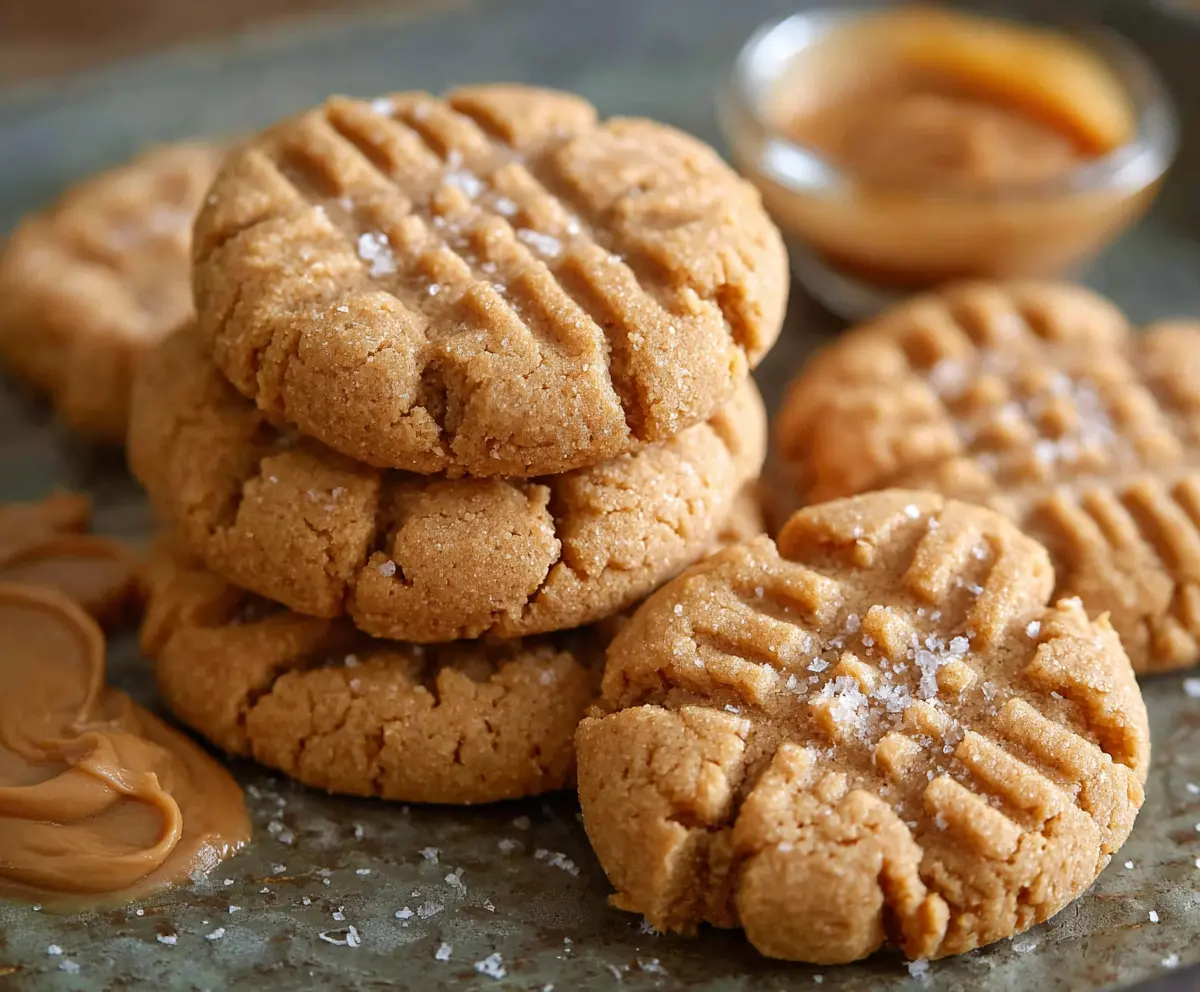
How Do You Get That Perfect Crisscross Fork Pattern Without the Dough Sticking?
That crisscross on top is a classic peanut butter cookie look. Here’s how to get it just right:
- Use a fork dipped in sugar or lightly brushed with water to stop the dough from sticking. This makes pressing easier and cleaner.
- Press down gently once from top to bottom, then sideways, so your pattern stands out without smashing the cookie thin.
- Don’t flatten your cookie balls too much—keep some height for softness inside after baking.
- Do this before baking, as cookies spread while baking and keep the shape.
With these simple tips, your cookies will look inviting with a nice texture and that signature peanut butter cookie style.
Equipment You’ll Need
- Mixing bowl – big enough to mix all your ingredients comfortably without spills.
- Electric mixer or wooden spoon – an electric mixer speeds up mixing, but a sturdy spoon works fine too.
- Baking sheet – a flat, rimmed sheet helps cookies bake evenly and makes it easy to remove them.
- Parchment paper or silicone baking mat – stops cookies from sticking and makes cleanup easier.
- Fork – for creating the classic crisscross pattern on top of each cookie.
- Measuring cups and spoons – accurate measurements make sure your cookies come out just right.
Flavor Variations & Add-Ins
- Add chocolate chips for a classic combo of peanut butter and chocolate—you’ll love the melty bursts.
- Mix in chopped peanuts for extra crunch and a nutty flavor boost.
- Try peanut butter with a swirl of Nutella for a sweet and nutty twist.
- Swap peanut butter with almond or cashew butter for a different but equally tasty nut flavor.
How to Make Classic Peanut Butter Cookies
Ingredients You’ll Need:
- 1 cup creamy peanut butter
- 1/2 cup granulated sugar
- 1/2 cup brown sugar, packed
- 1 large egg
- 1 teaspoon vanilla extract
- 1 teaspoon baking soda
- 1/4 teaspoon salt (omit if using salted peanut butter)
Time Needed:
This recipe takes about 10 minutes to prepare and 10-12 minutes to bake. Plus, allow a few minutes for cooling. So, about 25 minutes in total from start to finish.
Step-by-Step Instructions:
1. Prepare the Oven and Baking Sheet:
Preheat your oven to 350°F (175°C). Line a baking sheet with parchment paper or use a silicone baking mat to prevent sticking and make cleanup easier.
2. Mix the Dough:
In a large mixing bowl, combine the peanut butter, granulated sugar, and brown sugar. Stir until the mixture is smooth and well mixed. Then, beat in the egg and vanilla extract until everything is fully combined.
3. Add Dry Ingredients:
Sprinkle in the baking soda and salt. Mix everything together until blended. The dough will be thick and a bit sticky.
4. Shape the Cookies:
Scoop out tablespoon-sized portions of dough and roll them into balls. Place each ball about 2 inches apart on your prepared baking sheet.
5. Create the Crisscross Pattern:
Using a fork, press down on each dough ball once vertically and once horizontally to make the classic peanut butter cookie crisscross pattern. Don’t press too hard—you want to flatten them slightly but keep some thickness.
6. Bake the Cookies:
Bake for 10-12 minutes, until the edges are golden and the cookies look set but still soft in the center.
7. Cool Before Enjoying:
Let the cookies cool on the baking sheet for 5 minutes to firm up, then transfer them to a wire rack to cool completely before eating.
Enjoy your soft, chewy peanut butter cookies with a cold glass of milk or your favorite hot drink!
Can I Use Natural Peanut Butter for These Cookies?
Yes, you can! Just make sure to stir the natural peanut butter well before measuring so the oils are mixed in. It may make the dough a bit softer, so chill it for 15-20 minutes if needed before baking.
Can I Substitute the Egg in This Recipe?
Absolutely! You can use a flax egg (1 tablespoon ground flaxseed mixed with 3 tablespoons water) as an egg replacement. Let it sit for a few minutes to thicken before adding to the dough.
How Should I Store Leftover Peanut Butter Cookies?
Store them in an airtight container at room temperature for up to 5 days. If you’d like them softer, add a slice of bread to the container to keep the cookies moist.
Can These Cookies Be Frozen?
Yes! Freeze the cookie dough balls on a tray until firm, then transfer to a freezer bag. Bake straight from frozen, adding an extra minute or two to the baking time.