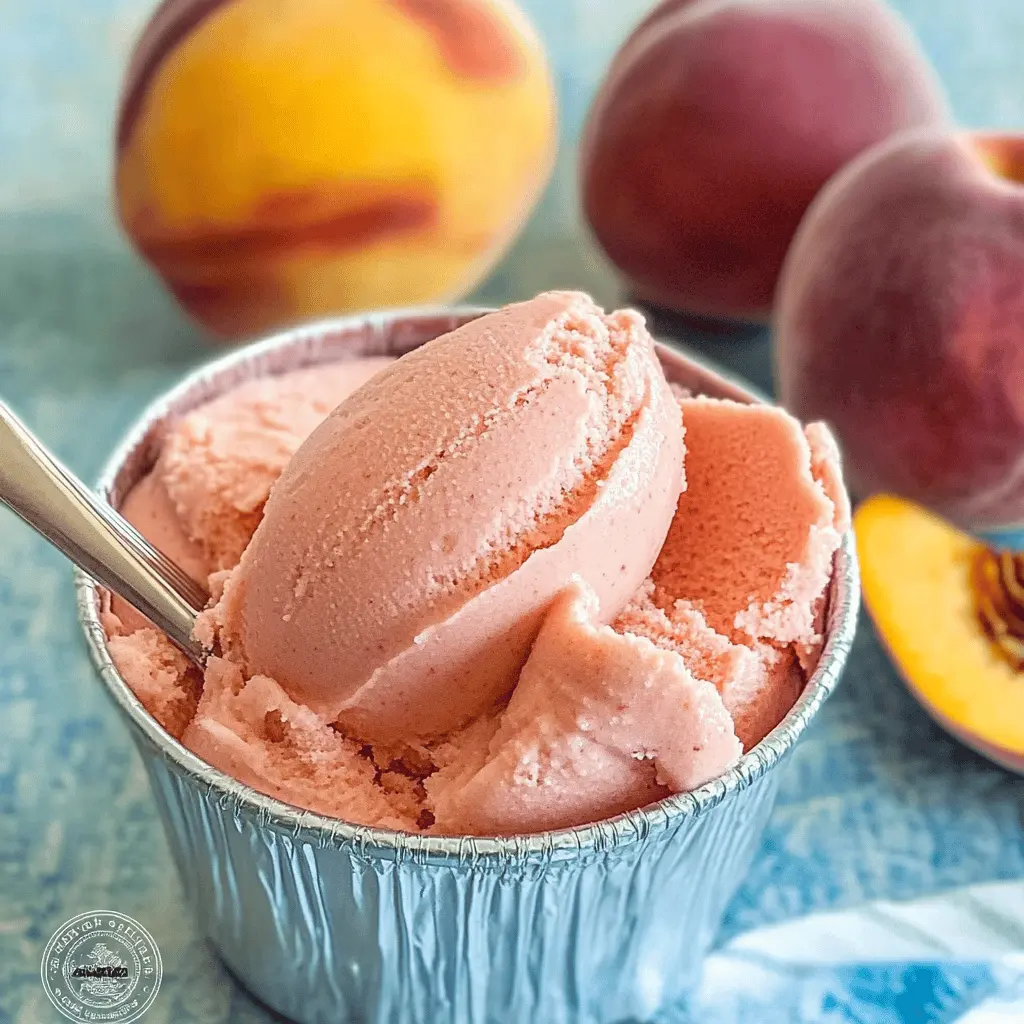
This Easy 2-Ingredient No Churn Peach Sherbet is a refreshing treat that’s super simple to make! Just ripe peaches and sweetened condensed milk come together for a creamy, fruity delight.
Best part? No ice cream maker needed! I love to whip this up on hot days, and it’s perfect for a family get-together. Trust me, you’ll make it again and again! 🍑
Key Ingredients & Substitutions
Fresh Peaches: When using fresh peaches, make sure they are ripe for the best flavor. If fresh ones aren’t available, frozen peaches work great too! They should be thawed completely before blending.
Sweetened Condensed Milk: This ingredient gives the sherbet its creaminess and sweetness. If you need a dairy-free option, look for coconut condensed milk. It adds a nice tropical twist!
How Do You Ensure the Perfect Texture for Your Sherbet?
The key to achieving a smooth and creamy texture is to blend the peaches and sweetened condensed milk together well. A powerful blender works best for this. Blend until there’s no more chunks!
- Make sure to fully peel and slice the peaches before blending, as this helps them incorporate smoothly.
- Once blended, pour the mixture into a container, making sure it’s even on top to freeze uniformly.
- Allow it to freeze for at least 4 hours for the right firm but scoopable texture.
Easy 2-Ingredient No Churn Peach Sherbet Recipe
Ingredients:
- 3 cups fresh peaches, peeled and sliced (can substitute with frozen peaches, thawed)
- 1 can (14 ounces) sweetened condensed milk
How Much Time Will You Need?
This delightful peach sherbet takes about 10 minutes to prepare and needs at least 4 hours in the freezer to firm up. So, plan for about 4 hours and 10 minutes total—perfect for a quick treat on a hot day!
Instructions:
1. Prepare the Peaches:
Start by peeling and slicing the fresh peaches into bite-sized chunks. If you’re using frozen peaches, just make sure they’ve completely thawed out. This step is key for blending!
2. Blend Everything Together:
Grab your blender or food processor and add the peach chunks along with the sweetened condensed milk. Blend the mixture until it’s smooth and creamy—this will help create that wonderful sherbet texture. If you see any little pieces of peach, just blend a tad longer!
3. Pour and Smooth:
Once blended, pour your peach mixture into a loaf pan or any airtight container. Use a spatula to smooth the mixture on top, making sure it’s even all around so it freezes nicely.
4. Freeze the Sherbet:
Cover the container with plastic wrap or a lid to prevent ice crystals from forming. Place it in the freezer and let it chill for at least 4 hours, or until it’s firm and scoopable.
5. Scoop and Serve:
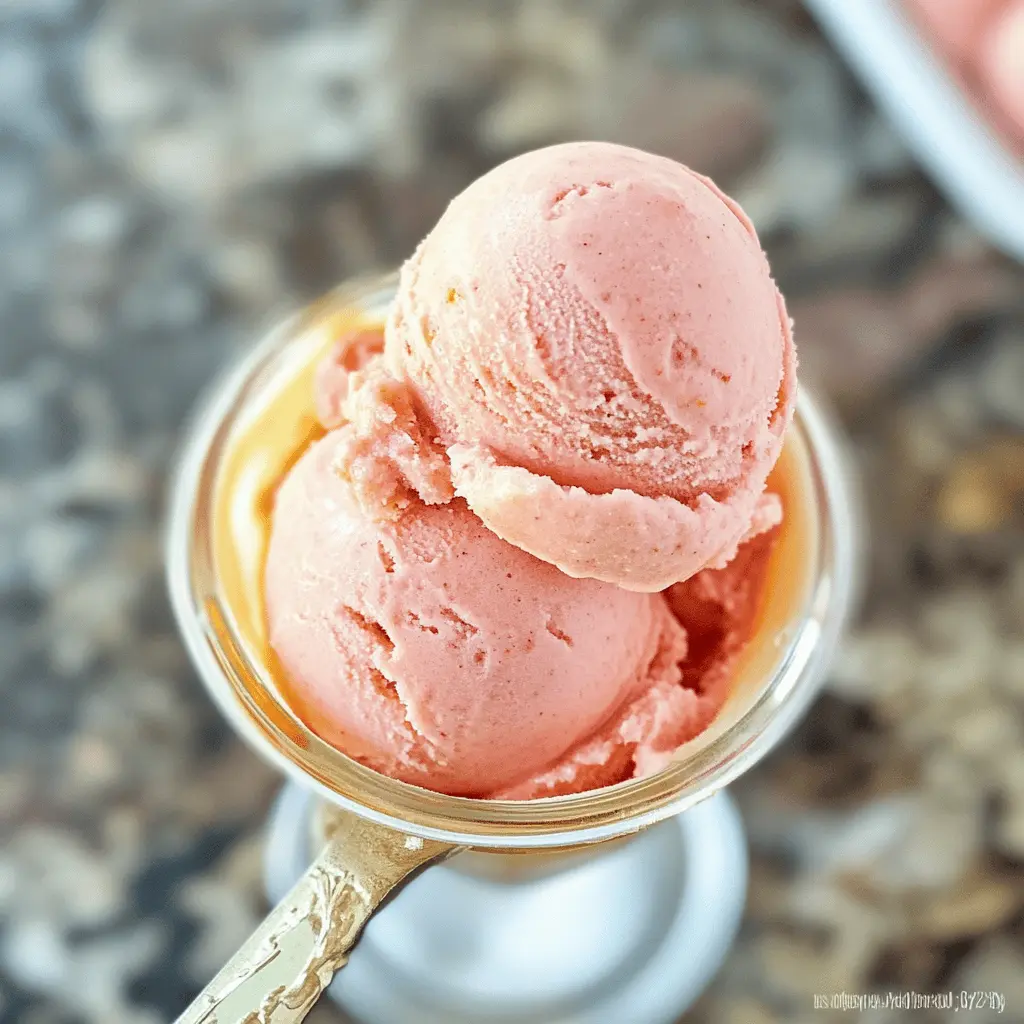
When you’re ready to enjoy, take the sherbet out of the freezer and scoop it into cones or bowls. Dive in and savor that refreshing peach flavor—it’s perfect for cooling off!
This simple recipe uses just two ingredients and no ice cream maker, making a creamy, fruity sherbet perfect for warm days!
FAQ About Easy 2-Ingredient No Churn Peach Sherbet
Can I Use Other Fruits Instead of Peaches?
Absolutely! This recipe works well with other fruits like mangoes, strawberries, or bananas. Just follow the same steps, adjusting the quantity as needed to suit your fruit of choice!
How Do I Store Leftovers?
Store any leftover sherbet in an airtight container in the freezer. It can last for about 2 weeks. Just note that it may harden a bit, so let it sit at room temperature for a few minutes before scooping.
Can I Make This Sherbet Dairy-Free?
Yes! You can substitute the sweetened condensed milk with a dairy-free option, like coconut condensed milk. This will give the sherbet a lovely tropical flavor!
Is It Necessary to Use Fresh Peaches?
Not at all! While fresh peaches provide a wonderful flavor, frozen peaches work just as well. Just ensure they’re fully thawed before blending them into the mixture for the best texture!