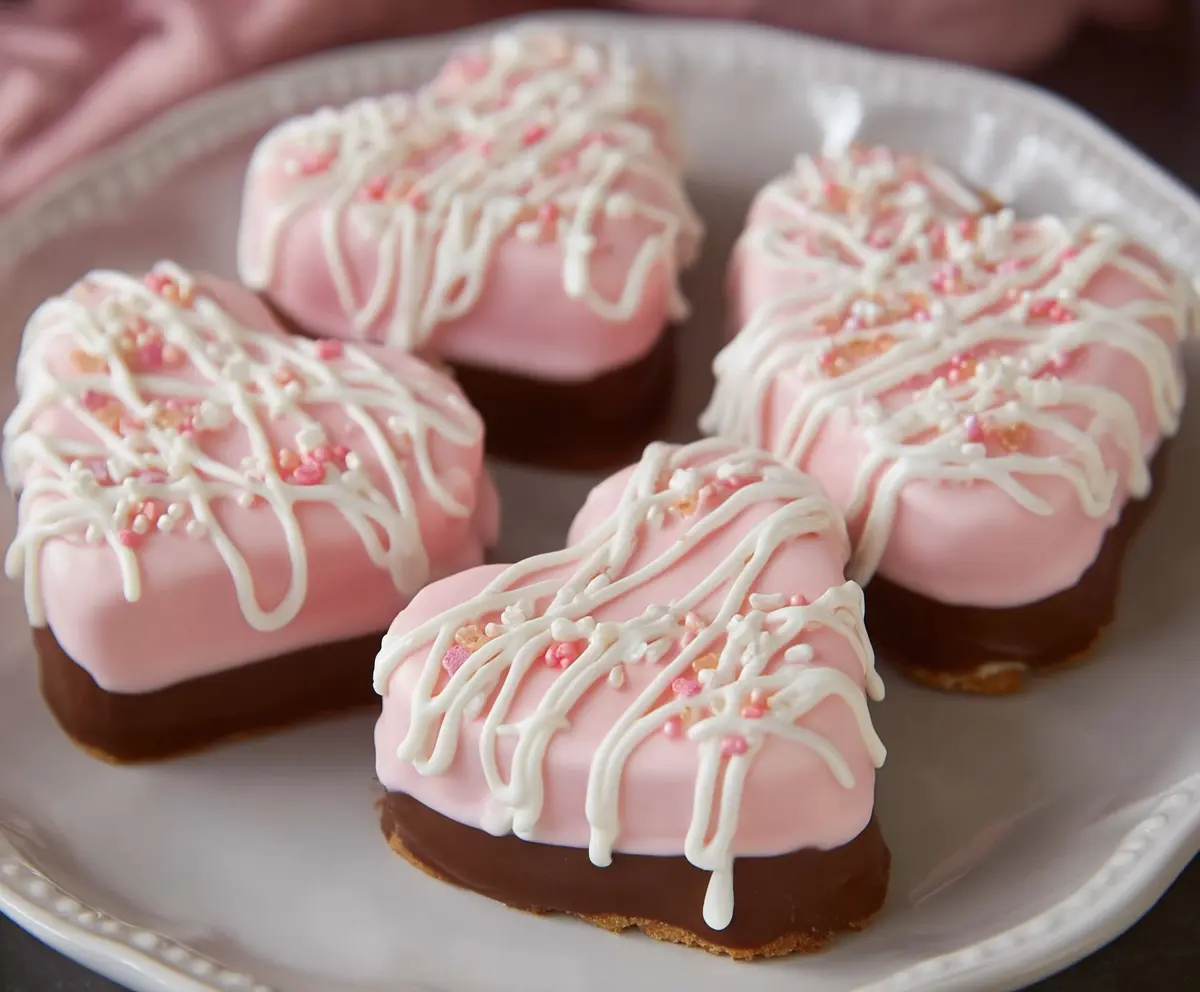
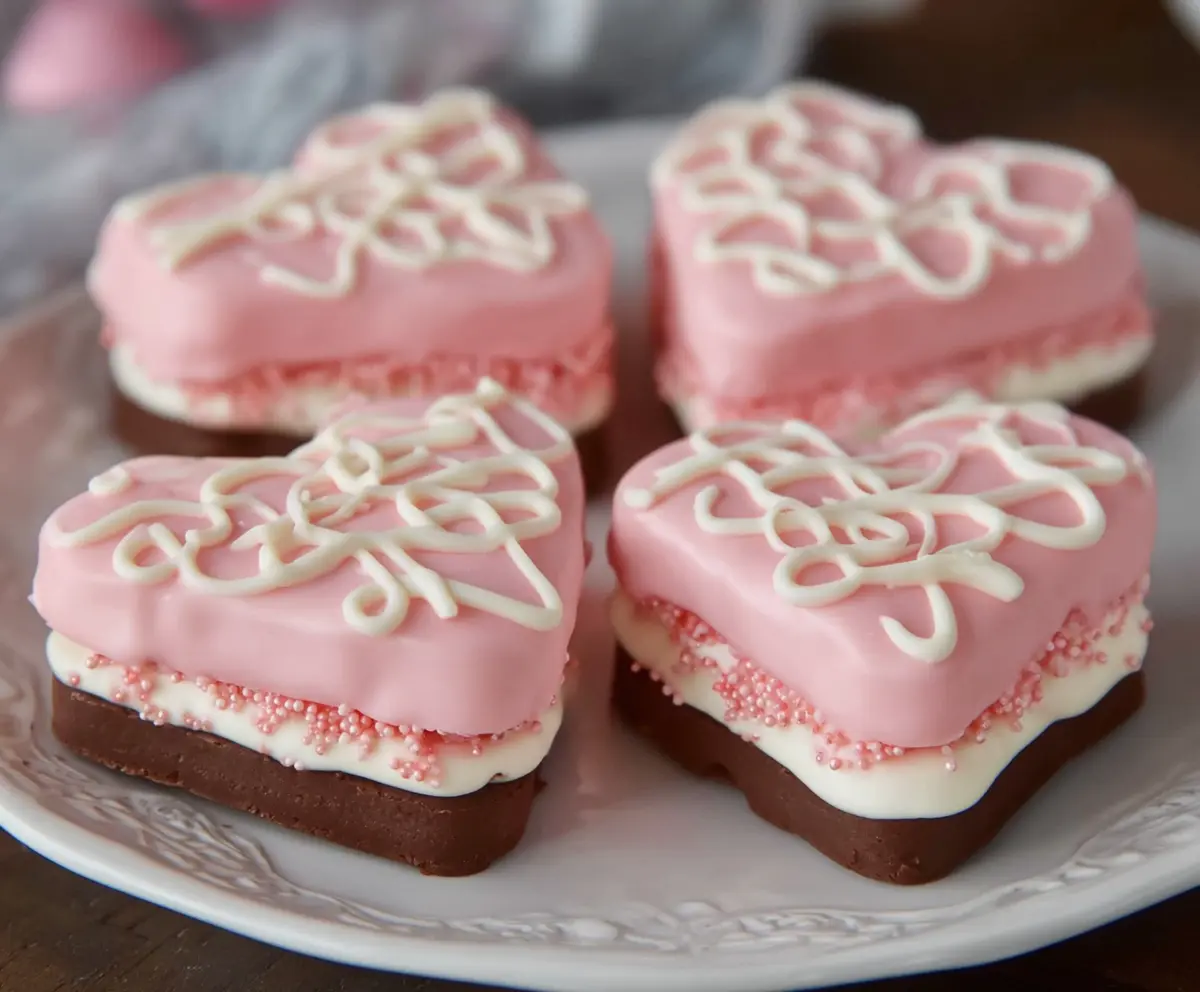
Copycat Little Debbie Valentines Cakes are sweet little treats packed with fluffy white cakes layered with creamy pink filling and covered in smooth, white icing decorated with cute red and pink sprinkles. These bite-sized cakes bring a pop of dessert happiness and are perfect for sharing or sneaking a few in when you need a little sugar boost.
I love making these at home because they remind me of those special Valentine’s Day moments when treats come with hearts and smiles. The great thing is, you can tweak the filling and decorations to fit your own style or dietary needs, and each bite still feels like a little celebration. Plus, they’re surprisingly easy to put together, which makes me happy when I’m short on time but still want something sweet.
My favorite way to enjoy them is fresh out of the fridge, when the frosting is just cool and the cake feels extra soft. These are perfect to pack in a lunchbox or bring to a party, especially with a big cup of milk or a warm cup of tea. They’re a fun way to spread some love through dessert, whether it’s Valentine’s Day or just a day that needs a bit more sweetness.
Key Ingredients & Substitutions
All-purpose flour: This is the base for your cake’s light and soft texture. If gluten-free is needed, try a gluten-free baking blend, but results might be slightly denser.
Butter: Butter adds moisture and richness to both cake and filling. For dairy-free, swap with a vegan butter or coconut oil, but texture may change a bit.
Egg: It binds and helps the cake rise. For egg-free baking, try flaxseed meal mixed with water (1 tbsp flax + 3 tbsp water = 1 egg) but expect a subtle difference in texture.
Candy melts and chocolate: Candy melts coat the cakes smoothly and give them that colorful finish. If unavailable, white chocolate works fine. Use oil-based food coloring with candy melts to keep smooth texture.
Pink food coloring: Adds the Valentine’s charm. Gel or oil-based food colors work best—avoid water-based as they can seize chocolate or melts.
How Do You Get the Perfect Smooth Candy Coating on These Little Cakes?
The candy coating is key to achieving that neat, clean look like the store-bought Valentines Cakes. Here’s what has worked well for me:
- Melt your white candy melts or chocolate slowly in 30-second bursts in the microwave, stirring well each time to avoid burning.
- If using candy melts, add a small amount of oil (like vegetable or coconut) to thin them out and get a nice, even dip.
- Dip each cake fully, letting the excess drip off before placing it on parchment paper to set.
- Work quickly but gently, so the cake doesn’t fall apart but the coating has time to level out before hardening.
- For a two-tone effect, dip just the bottom edge in melted chocolate after the pink coating sets.
- Use a piping bag or zip-top bag with a tiny hole to drizzle extra melted white chocolate over the top for decoration.
- Don’t forget to add sprinkles immediately after drizzling while the chocolate is still tacky.
This technique takes a little patience but results in that smooth, shiny candy shell that looks just like the original Valentines Cakes.
Equipment You’ll Need
- Heart-shaped cookie cutter – perfect for shaping the cakes just like the original Valentines Cakes.
- Mixing bowls – you’ll need a few for cake batter, filling, and melting chocolate.
- Electric hand mixer – makes mixing batter and whipping filling quick and smooth.
- Microwave-safe bowls – ideal for melting candy melts and chocolate safely.
- Parchment paper – prevents sticking when you set the dipped cakes to harden.
- Piping bag or resealable plastic bag – great for drizzling melted chocolate neatly.
Flavor Variations & Add-Ins
- Use almond or coconut extract in the filling for a fun twist on the classic vanilla flavor.
- Swap white candy melts for milk or dark chocolate to make the cakes richer and less sweet.
- Try adding finely chopped freeze-dried strawberries to the filling for a fruity surprise.
- Use heart-shaped sprinkles or edible glitter on top to personalize for different occasions beyond Valentine’s Day.
Copycat Little Debbie Valentines Cakes
Ingredients You’ll Need:
For the Cake:
- 1 cup all-purpose flour
- 1/2 tsp baking powder
- 1/4 tsp salt
- 1/2 cup granulated sugar
- 1/4 cup unsalted butter, softened
- 1 large egg
- 1/3 cup whole milk
- 1 tsp vanilla extract
For the Filling:
- 1/2 cup unsalted butter, softened
- 1 1/2 cups powdered sugar
- 1 tbsp heavy cream
- 1/2 tsp vanilla extract
- Few drops red or pink food coloring
For the Coating:
- 12 oz white candy melts (or white chocolate)
- Pink food coloring (if needed, use oil-based for candy melts)
- 6 oz semi-sweet or milk chocolate (for the bottom dip)
For Decoration:
- White chocolate or candy melts (for drizzle)
- Valentine-themed sprinkles (pink, red, white)
How Much Time Will You Need?
This recipe takes about 20 minutes of prep time, 20 minutes of baking, 30 minutes chilling time to set, plus a bit more for dipping and decorating. In all, you can have your cakes ready in roughly 1.5 to 2 hours.
Step-by-Step Instructions:
1. Prepare the Cake Batter and Bake:
Preheat your oven to 350°F (175°C). Line a baking sheet with parchment paper or grease a 9×9 inch baking pan. In a medium bowl, whisk together the flour, baking powder, and salt. In a large bowl, beat softened butter and granulated sugar until light and fluffy. Add the egg and vanilla extract, mixing well. Then add the flour mixture and milk alternately to the butter mixture, starting and ending with flour. Mix just until combined. Pour the batter into the pan and bake for 18-22 minutes or until a toothpick inserted in the center comes out clean. Let cool completely.
2. Cut and Fill the Cakes:
Once the cake is cool, use a heart-shaped cookie cutter to cut out cake hearts. To make the filling, beat the softened butter until smooth, then gradually add powdered sugar, heavy cream, vanilla extract, and food coloring. Beat until creamy and fluffy. Spread a generous layer of filling on one cake heart and sandwich with another heart. Repeat this for all cake hearts. Freeze the assembled cakes for about 30 minutes to firm up.
3. Coat, Decorate, and Set:
Melt the white candy melts in a microwave-safe bowl at 30-second intervals, stirring until smooth. Add pink food coloring until you reach your desired pink shade. Dip each sandwich cake into the pink candy melts, letting excess drip off, then place on parchment paper to set. Next, melt the chocolate and dip the bottom edges of each cake in it for that chocolate-finished look. Let it harden on parchment. Finally, melt extra white chocolate or candy melts for drizzling. Drizzle over the cakes and sprinkle Valentine-themed sprinkles immediately. Let the cakes fully set at room temperature or refrigerate before serving.
Enjoy your homemade Copycat Little Debbie Valentines Cakes—sweet, festive, and sure to delight!
Can I Use Store-Bought Cake Instead of Baking From Scratch?
Yes! You can save time by using a store-bought white or vanilla sheet cake. Just cut it into heart shapes and proceed with the filling and coating steps as usual.
How Should I Store Leftover Valentines Cakes?
Store them in an airtight container in the refrigerator for up to 5 days. Let them come to room temperature for about 10 minutes before enjoying for the best flavor and texture.
Can I Freeze These Cakes for Later?
Absolutely! Wrap each cake individually in plastic wrap and place in an airtight container or freezer bag. Freeze for up to 2 months. Thaw in the fridge overnight before serving.
What If I Don’t Have Pink Food Coloring?
No worries! You can skip the coloring for a classic white coating or lightly mix in a bit of red food coloring to achieve the pink shade. Use oil-based coloring if working with candy melts to keep them smooth.