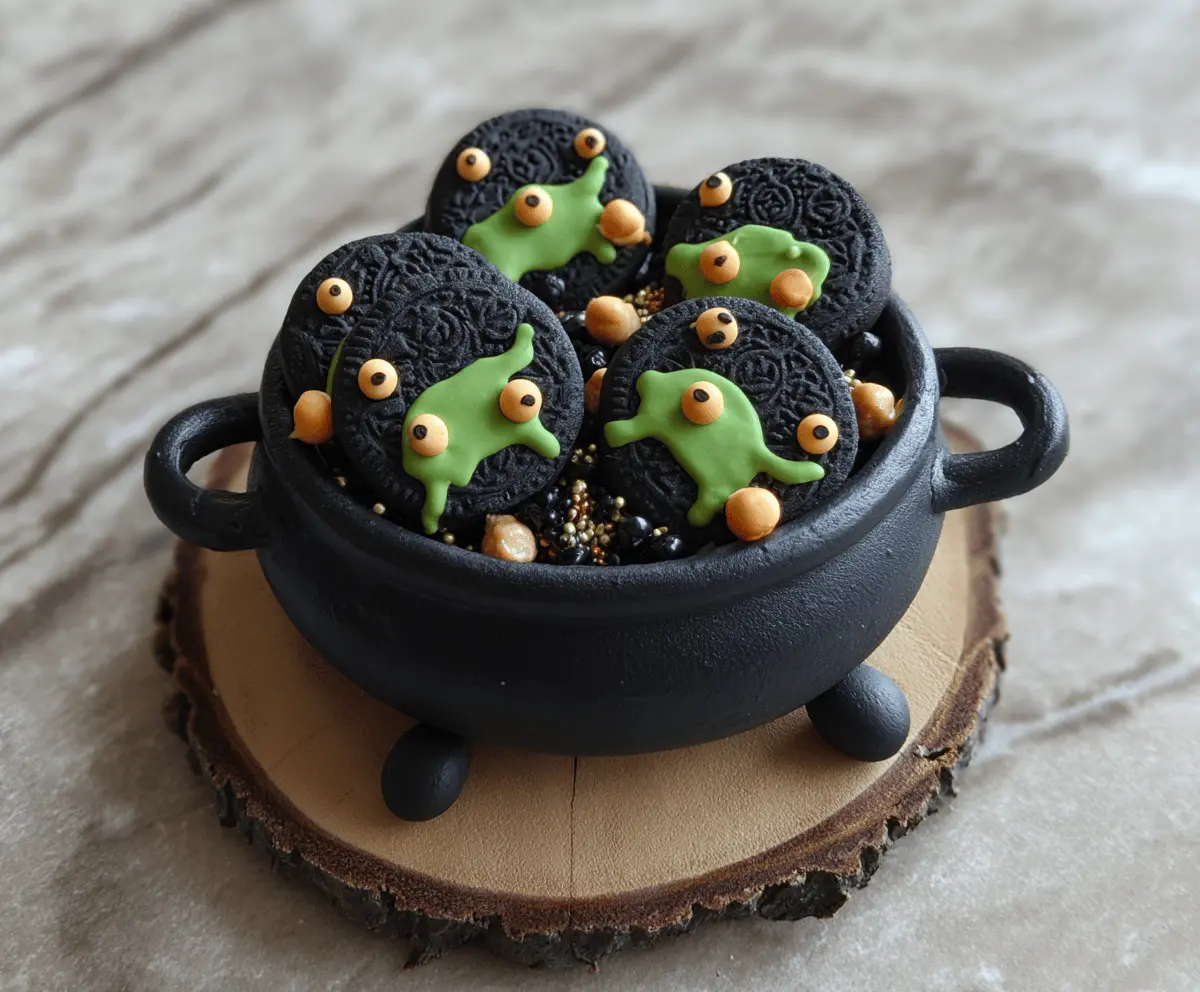
Cauldron Cookies are a fun and festive treat that combines soft, chewy cookie dough with a surprise center—usually a gooey chocolate or caramel filling. These little bundles look like mini cauldrons straight from a storybook, making them perfect for Halloween parties or any time you want to add a bit of magic to your dessert table.
I love making Cauldron Cookies because they’re a bit of a fun baking project that everyone enjoys eating afterward. The best part is hiding the surprise filling inside the cookie dough before baking, and seeing the smiles when someone bites into that warm, melty center. It’s like a little treasure hidden inside each cookie!
My favorite way to share these cookies is fresh from the oven, still warm and soft, with a glass of cold milk on the side. They’re easy to pop into lunch boxes or serve at gatherings, and they always seem to bring a sense of whimsy and delight. If you want to add extra fun, try sprinkling some colored sugar or edible glitter on top before baking for a sparkling cauldron effect!
Key Ingredients & Substitutions
All-purpose flour: The base for these cookies. If you want a gluten-free option, try a 1:1 gluten-free flour blend, but it might change the texture slightly.
Butter: Butter adds flavor and tenderness. You can swap for margarine or coconut oil, but the taste and texture may differ.
Royal icing: This is key for decorating the cauldrons. Store-bought works fine, but homemade icing lets you control consistency and colors better.
Food coloring: Gel food colors give bright, bold hues without thinning the icing much. Liquid food coloring can work but may affect the icing’s thickness.
How Do You Get Smooth, Crisp Royal Icing on Your Cauldron Cookies?
Decorating with royal icing can be tricky if it’s too runny or thick. Here’s how I keep it just right:
- Mix your royal icing to a flood consistency: smooth and slightly runny but not watery.
- Outline the cookie first with a thicker icing to create a “wall” that holds the flood icing.
- Flood the inside area gently with thinner icing, letting it settle smoothly.
- Use a toothpick or small tool to spread icing to corners or to pop air bubbles.
- Allow the base layer to dry completely before adding details to prevent colors from bleeding.
With patience, your cauldron cookies will have that perfect, polished look that really makes them stand out!
Equipment You’ll Need
- Mixing bowls – for combining your cookie dough ingredients easily.
- Electric mixer – helps cream butter and sugar smoothly without much effort.
- Rolling pin – to roll out the dough evenly to the right thickness.
- Cauldron-shaped cookie cutter – perfect for shaping your spooky cookies quickly and neatly.
- Baking sheets lined with parchment paper – prevents sticking and makes cleanup easier.
- Piping bags with fine tips – essential for detailed royal icing decoration.
- Cooling rack – lets your cookies cool evenly without getting soggy.
Flavor Variations & Add-Ins
- Add a teaspoon of cinnamon or pumpkin pie spice to the dough for a cozy fall flavor twist.
- Swap black royal icing for dark chocolate ganache for a rich, shiny finish instead of icing.
- Mix mini chocolate chips or chopped nuts into the dough for extra texture and flavor.
- Try adding orange or green candy melts on top for colorful variations in your cauldron “potion.”
How to Make Cauldron Cookies?
Ingredients You’ll Need:
- 2 ¾ cups all-purpose flour
- 1 teaspoon baking soda
- ½ teaspoon baking powder
- 1 cup unsalted butter, softened
- 1 ½ cups white sugar
- 1 large egg
- 1 teaspoon vanilla extract
- 1 tablespoon milk
- Black, green, and orange royal icing (store-bought or homemade)
- Small black candy beads or sprinkles (for decoration)
- Edible black gel or food coloring for spider details
- Brown or tan colored royal icing (for bubbling potion accents)
- Thin twine or edible rope decoration (optional, for the cauldron’s string)
How Much Time Will You Need?
This recipe takes about 20 minutes to prepare and 8-10 minutes to bake the cookies. Then, decorating time can take around 30 minutes or more depending on your detail level. Allow some extra time for the royal icing to dry completely—usually a few hours or overnight works best for a sturdy finish.
Step-by-Step Instructions:
1. Making the Dough:
First, preheat your oven to 375°F (190°C) and line your baking sheets with parchment paper. In a medium bowl, whisk together the flour, baking soda, and baking powder. In a larger bowl, cream the softened butter and sugar until smooth and fluffy. Beat in the egg and vanilla extract well. Now, gradually add the dry ingredients alternately with the milk, mixing until the dough comes together nicely.
2. Shaping and Baking:
Lightly flour your surface and roll out the dough to about ¼ inch thickness. Use a cauldron-shaped cookie cutter (or a similar pot shape) to cut out each cookie and place them on your baking sheets. Bake cookies for 8 to 10 minutes or until the edges turn golden. Remove them and let cool completely on a wire rack before decorating.
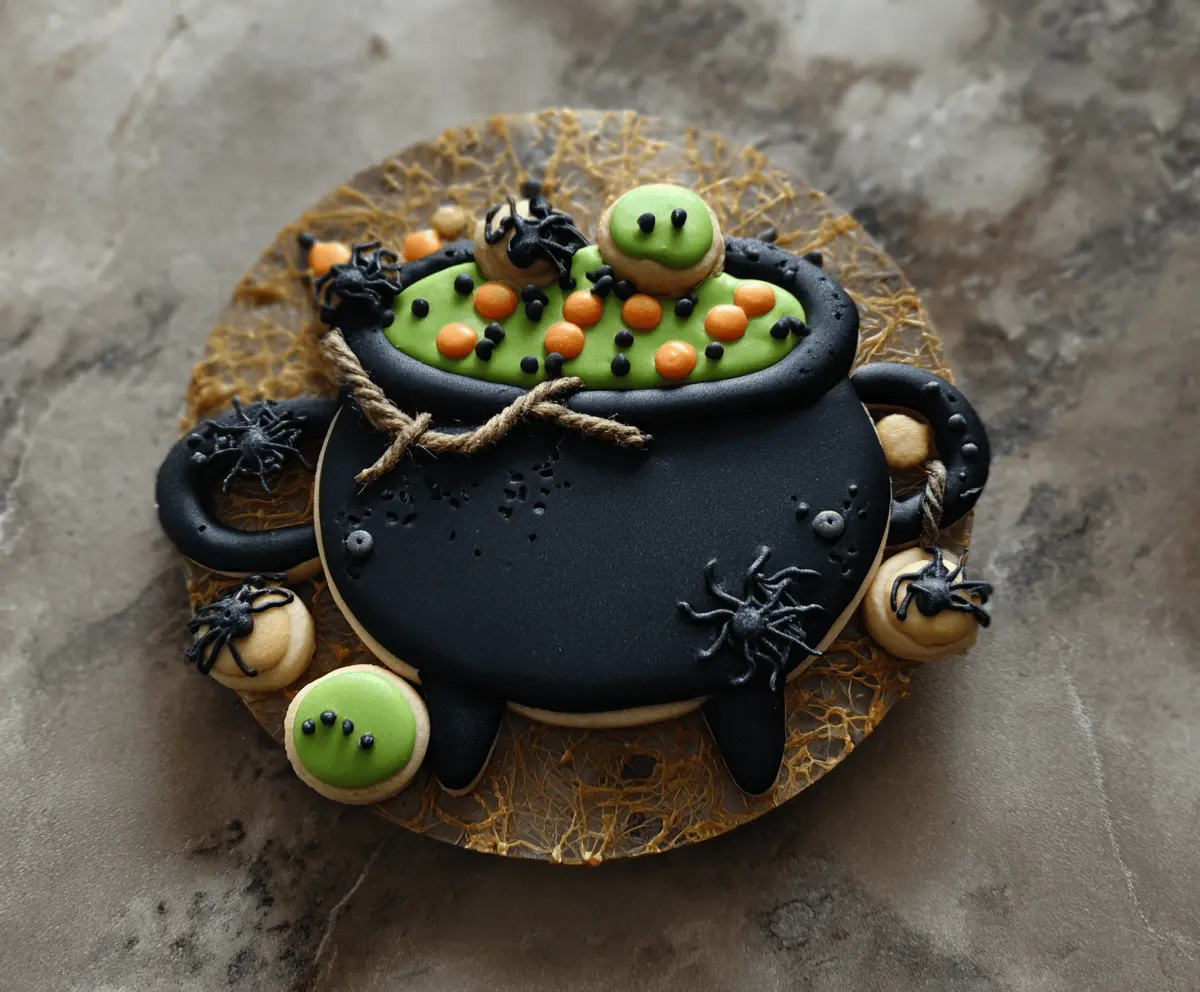
3. Decorating Your Cauldron Cookies:
Mix black, green, orange, and tan royal icing colors. Using a piping bag with a fine tip, outline and flood the cauldron body with black icing and let it dry slightly. Pipe a rounded green potion bubbling effect on top, then add orange and black dots for bubbling detail. Add spooky little spiders using black icing or edible gel. Use brown or tan icing to paint small “mushrooms” or bubbles around the cauldron’s edge. For a finishing touch, tie thin twine in a bow around the cookie or pipe a rope-like icing design to mimic the cauldron’s string. Let all icing dry thoroughly before serving or packing. Optionally, add candy eyes or dots on green icing parts to resemble eyes peeking out from the potion’s surface.
Can I Make Cauldron Cookies Ahead of Time?
Yes! You can bake the cookies up to 3 days in advance and store them in an airtight container. Decorate them a day before serving so the royal icing dries nicely and stays fresh.
What Can I Use If I Don’t Have a Cauldron Cookie Cutter?
No worries! Use a round or oval cookie cutter and then shape the handles by hand before baking, or draw the cauldron shape on parchment paper as a guide to cut your dough with a knife.
How Should I Store Leftover Decorated Cauldron Cookies?
Keep them in an airtight container at room temperature for up to 5 days. If humid, place a desiccant packet in the container to help keep the icing crisp.
Can I Substitute Royal Icing for Another Decoration?
You can use tinted melted chocolate or colored candy melts, but royal icing is best for detailed piping and hard-drying decorations that hold their shape well.